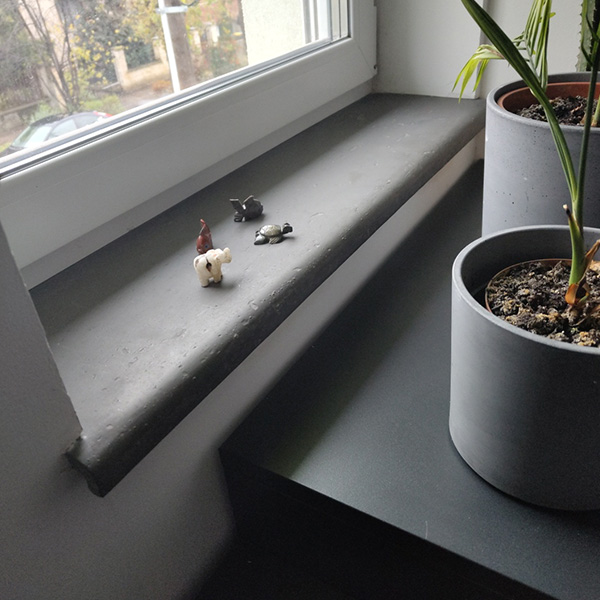
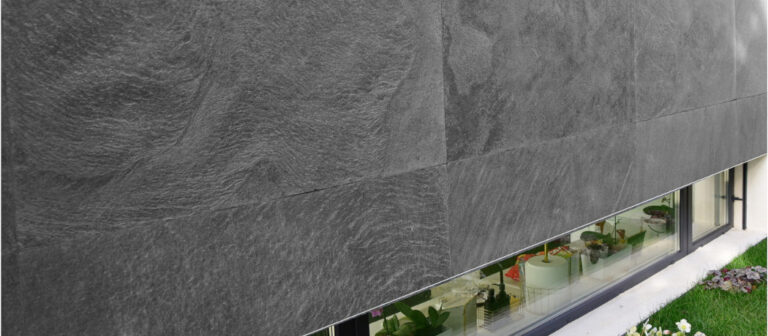
A natural look for your home, a timeless solution.
Tools needed

- Sillmaster sloped XPS
- Sillmaster window sill
- Den Braven (winter, summer) Multikleber PU adhesive
- Den Braven Exterior sealant
- spirit level, caulking gun
- measuring tools, utility knife, pencil
- masking tape, paintbrush
- square ruler, paint, weight
Dust cleaning
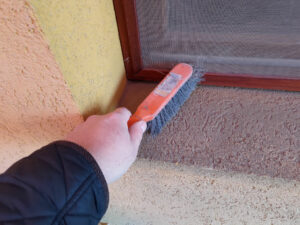
Use a brush or a hand broom to clean the rebate and window sill surface! This is essential to ensure that the PU adhesive does not stick to the window sill and rebate surface rather than clinging to dust.
Rebate measurement
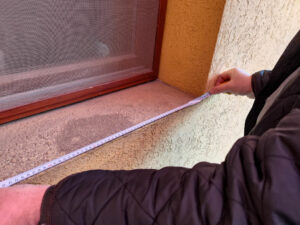
Measure the length and depth of the rebate. It’s advisable to measure the length both outside and directly near the window, and measure the depth on both the right and left sides. This way, you’ll determine the sloped XPS board you need to cut from the sheet.
Cutting the XPS to size
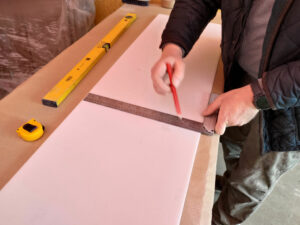
Draw the measured dimensions onto the sloped XPS board. The XPS board is 38 cm wide, so if your window sill is not 40 cm wide, you can decide whether to cut it from the thicker or thinner side. This also depends on the thickness that can be accommodated by the sill receiver or in front of the window.
Cut the sloped XPS board with a sharp utility knife and a spirit level.
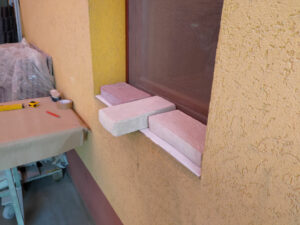
Gluing the Sloped Sill

Before applying, try fitting the sloped sill into the window, then use a spirit level to check the slope. Only proceed with gluing if it’s correct (not sloping towards the window). Apply low-expansion PU adhesive foam to one side of the XPS. Start by going around the edges and then in a zigzag pattern. It’s advisable to use gloves; you can find protective gear like gloves in the PU packaging as well.
Attaching the XPS
Place the XPS onto the rebate and press it down firmly, then weigh it down. Even with low-expansion PU adhesive, it can expand unevenly if not properly weighted. Don’t worry if some PU adhesive spills out, as once it solidifies, you can easily remove it with a utility knife without leaving marks.
Masking
Tape off the edge of the window sill with masking tape before applying: this can protect it from discoloration caused by the sealant.
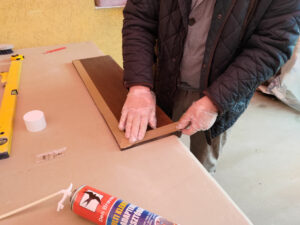
Two-Step Sill Adhesion

For both the pre-cut sill (factory-made or DIY) and the test-fitted window ledge, similar to attaching the XPS, apply low-expansion PU adhesive foam (first around the edges, then in a zigzag pattern). Take into account the weather conditions. In winter (up to -10°C), use winter-grade low-expansion PU foam! When spraying, consider that there will be a gap of 1.5-2 cm from the drip edge (the downward sloping part) that does not need to be filled.

The process of attaching the sill should be the same as with the XPS; press the sill firmly into the PU foam. It’s okay if it overflows. Do not wipe it off!
Then weigh it down. Place a paper sheet underneath the weight to prevent paint wear. Be aware that the PU foam doesn’t set immediately, so the sill may slide.
Since the XPS is sloped, it can even move.
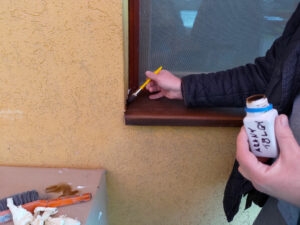
Sealing
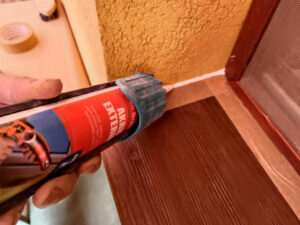
Use an outdoor and paintable sealant only. If there is no sill receiver, you may also need it for the long side. The gap to be sealed should be 2-3 mm wide. This is sufficient for the sill’s expansion joint.
Perform the sealing only after the PU adhesive has fully set! If you lack experience in silicone application, it’s a good idea to tape off the plaster as well.
After sealing, smooth out any possible unevenness, and it’s important to perform the sealing at temperatures above 5°C!
Painting
We always provide touch-up paint for painted Sillmaster sills. This way, you can paint over the paintable sealant using a brush (above 5°C). You can remove the masking tape after the paint has dried.
Removing Excess PU

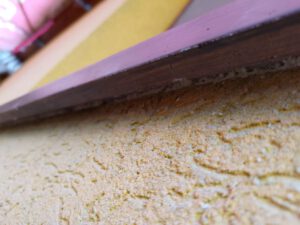
Only start this process once the PU has fully set. At this point, you can easily remove the set PU adhesive with a utility knife. As shown in the second picture, it’s possible to effortlessly remove the excess PU adhesive from under the sill using a knife.
And you’re done