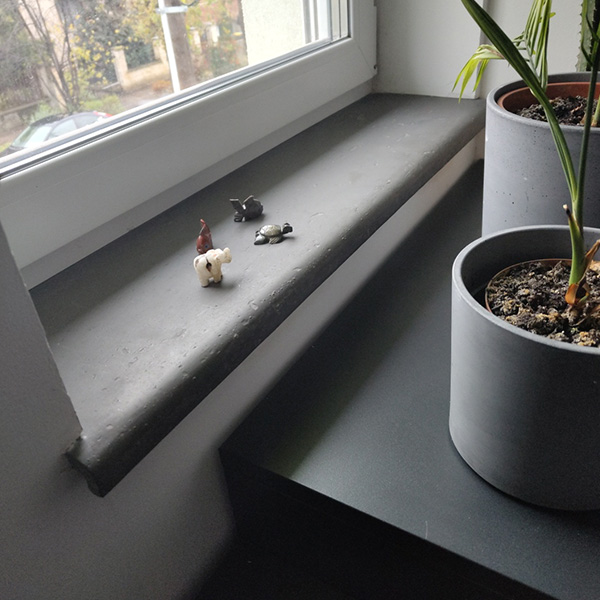
Painting your window sills can help transform the look of both the exterior and the interior of your home. Follow our step-by-step guide for the perfect finish. Whatever colour you choose for your windowsill, you need to make sure you choose the right one.
Selecting a color
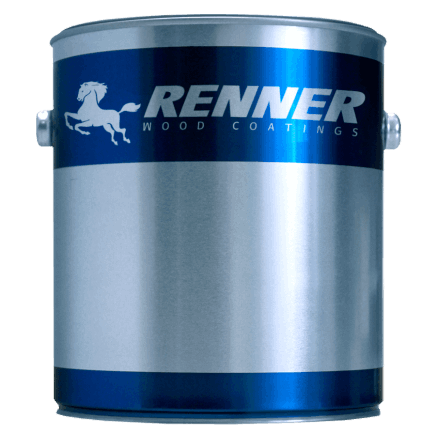
fter extensive research, testing, and experimentation, we have found the best paint for our sills. It’s the RENNER VP7000, a synthetic topcoat paint (www.rennermagyarorszag.hu/elerhetosegek). With this product, you can create a wide range of colors to meet individual needs. This Italian company specializes exclusively in wood coatings, tailored to the versatile requirements of their customers. Their extensive product range encompasses all surface treatment operations currently in use, offering a selection of thousands of items to choose from.
If you’re looking for a simpler solution, it’s advisable to choose from the range of thinned thick paints. However, in this case, it’s possible that the concrete may absorb the paint, and a periodic painting may be necessary later on.
Dust cleaning
Before painting, it is necessary to clean the surface to ensure that the paint adheres to the surface itself rather than to the dust.

De-greasing
It’s crucial to de-grease the surface using acetone and strictly follow the manufacturer’s safety guidelines. Whenever possible, wear rubber gloves when you work on the sill. It’s advisable to wipe the surface to be painted with a cloth, then allow the surface to dry.
Which is better when painting? Using a brush or a roller?

The choice depends on individual preferences. We recommend using a brush for varnish because a roller may not adequately cover the deeper points on a 3D surface. Painting with a brush ensures a smooth, stripe-free finish. Allow the painted surface to dry for 24 hours.
We always provide touch-up paint for painted Sillmaster sills. This way, you can paint over the paintable sealant using a brush (above 5C). Masking strips should only be peeled off after painting and drying.
The next step is varnishing, for which we recommend Harzo varnish.
It is applied to the surface to create a colourless varnish layer that makes the treated area waterproof, washable and abrasion resistant. It can be applied to any Harzo surface, painted walls, and other painted surfaces for impregnation purposes. It can also be used for lacquering various surfaces, including natural stones, clinker bricks, and cut bricks. The final result has a silky-matte finish. We recommend applying it with a roller or brush.
It is especially important that the tools are clean because impurities can be visible in the lacquer layer. Additionally, pay attention to the working time after mixing components A and B, which in our case is approximately between 2-4 hours. The drying time under proper conditions is about 1-2 hours.