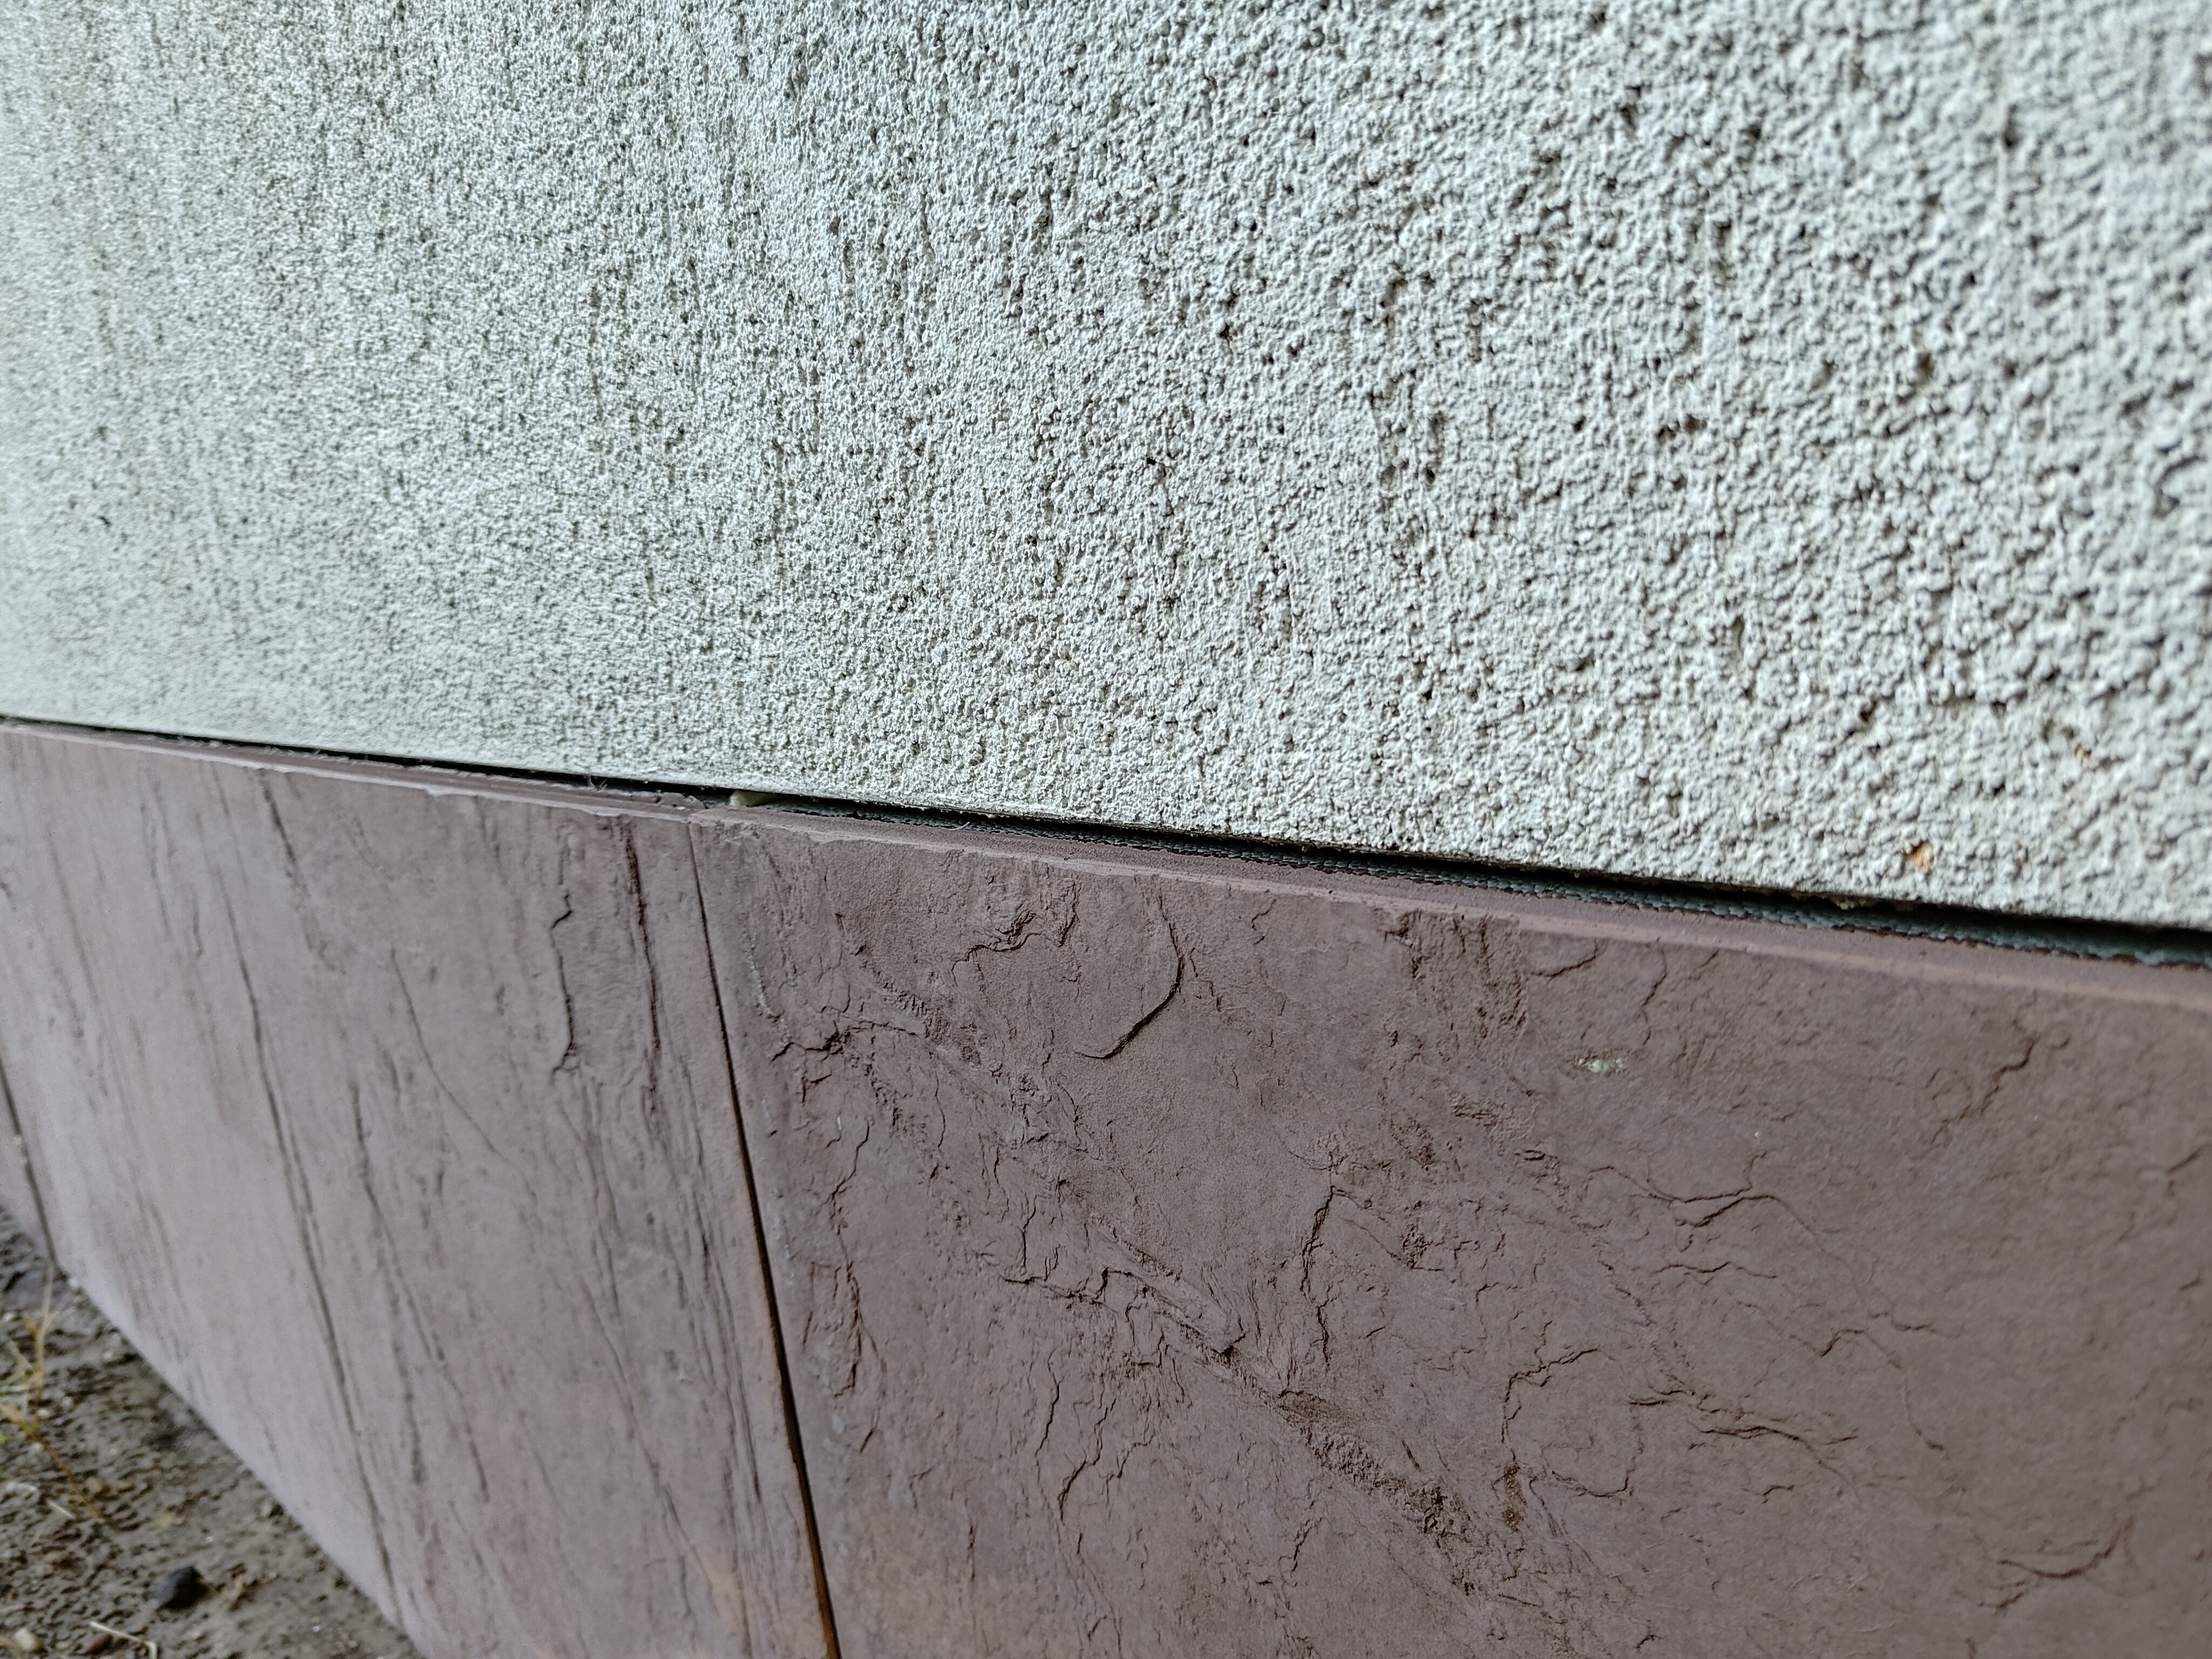
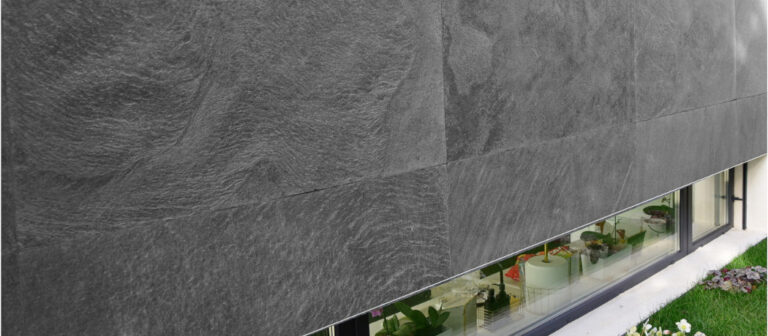
Iso-Concrete:
- 2in1: Thermal insulation and cladding
- Easy fixing
- Long-term weather resistance
- Care-free design
- Coloured in the material
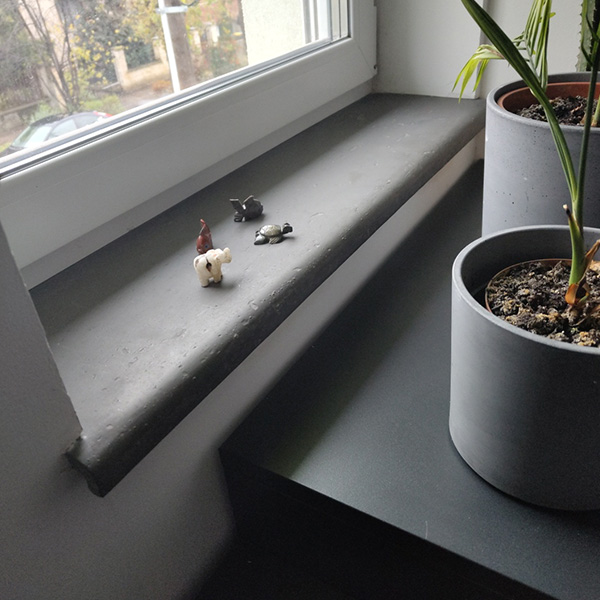
For houses and flats, the insulation under the ground floor window does not need to be sealed!!!!
Thus, Iso-Concrete insulation is extremely easy to apply by gluing, the steps of which are:
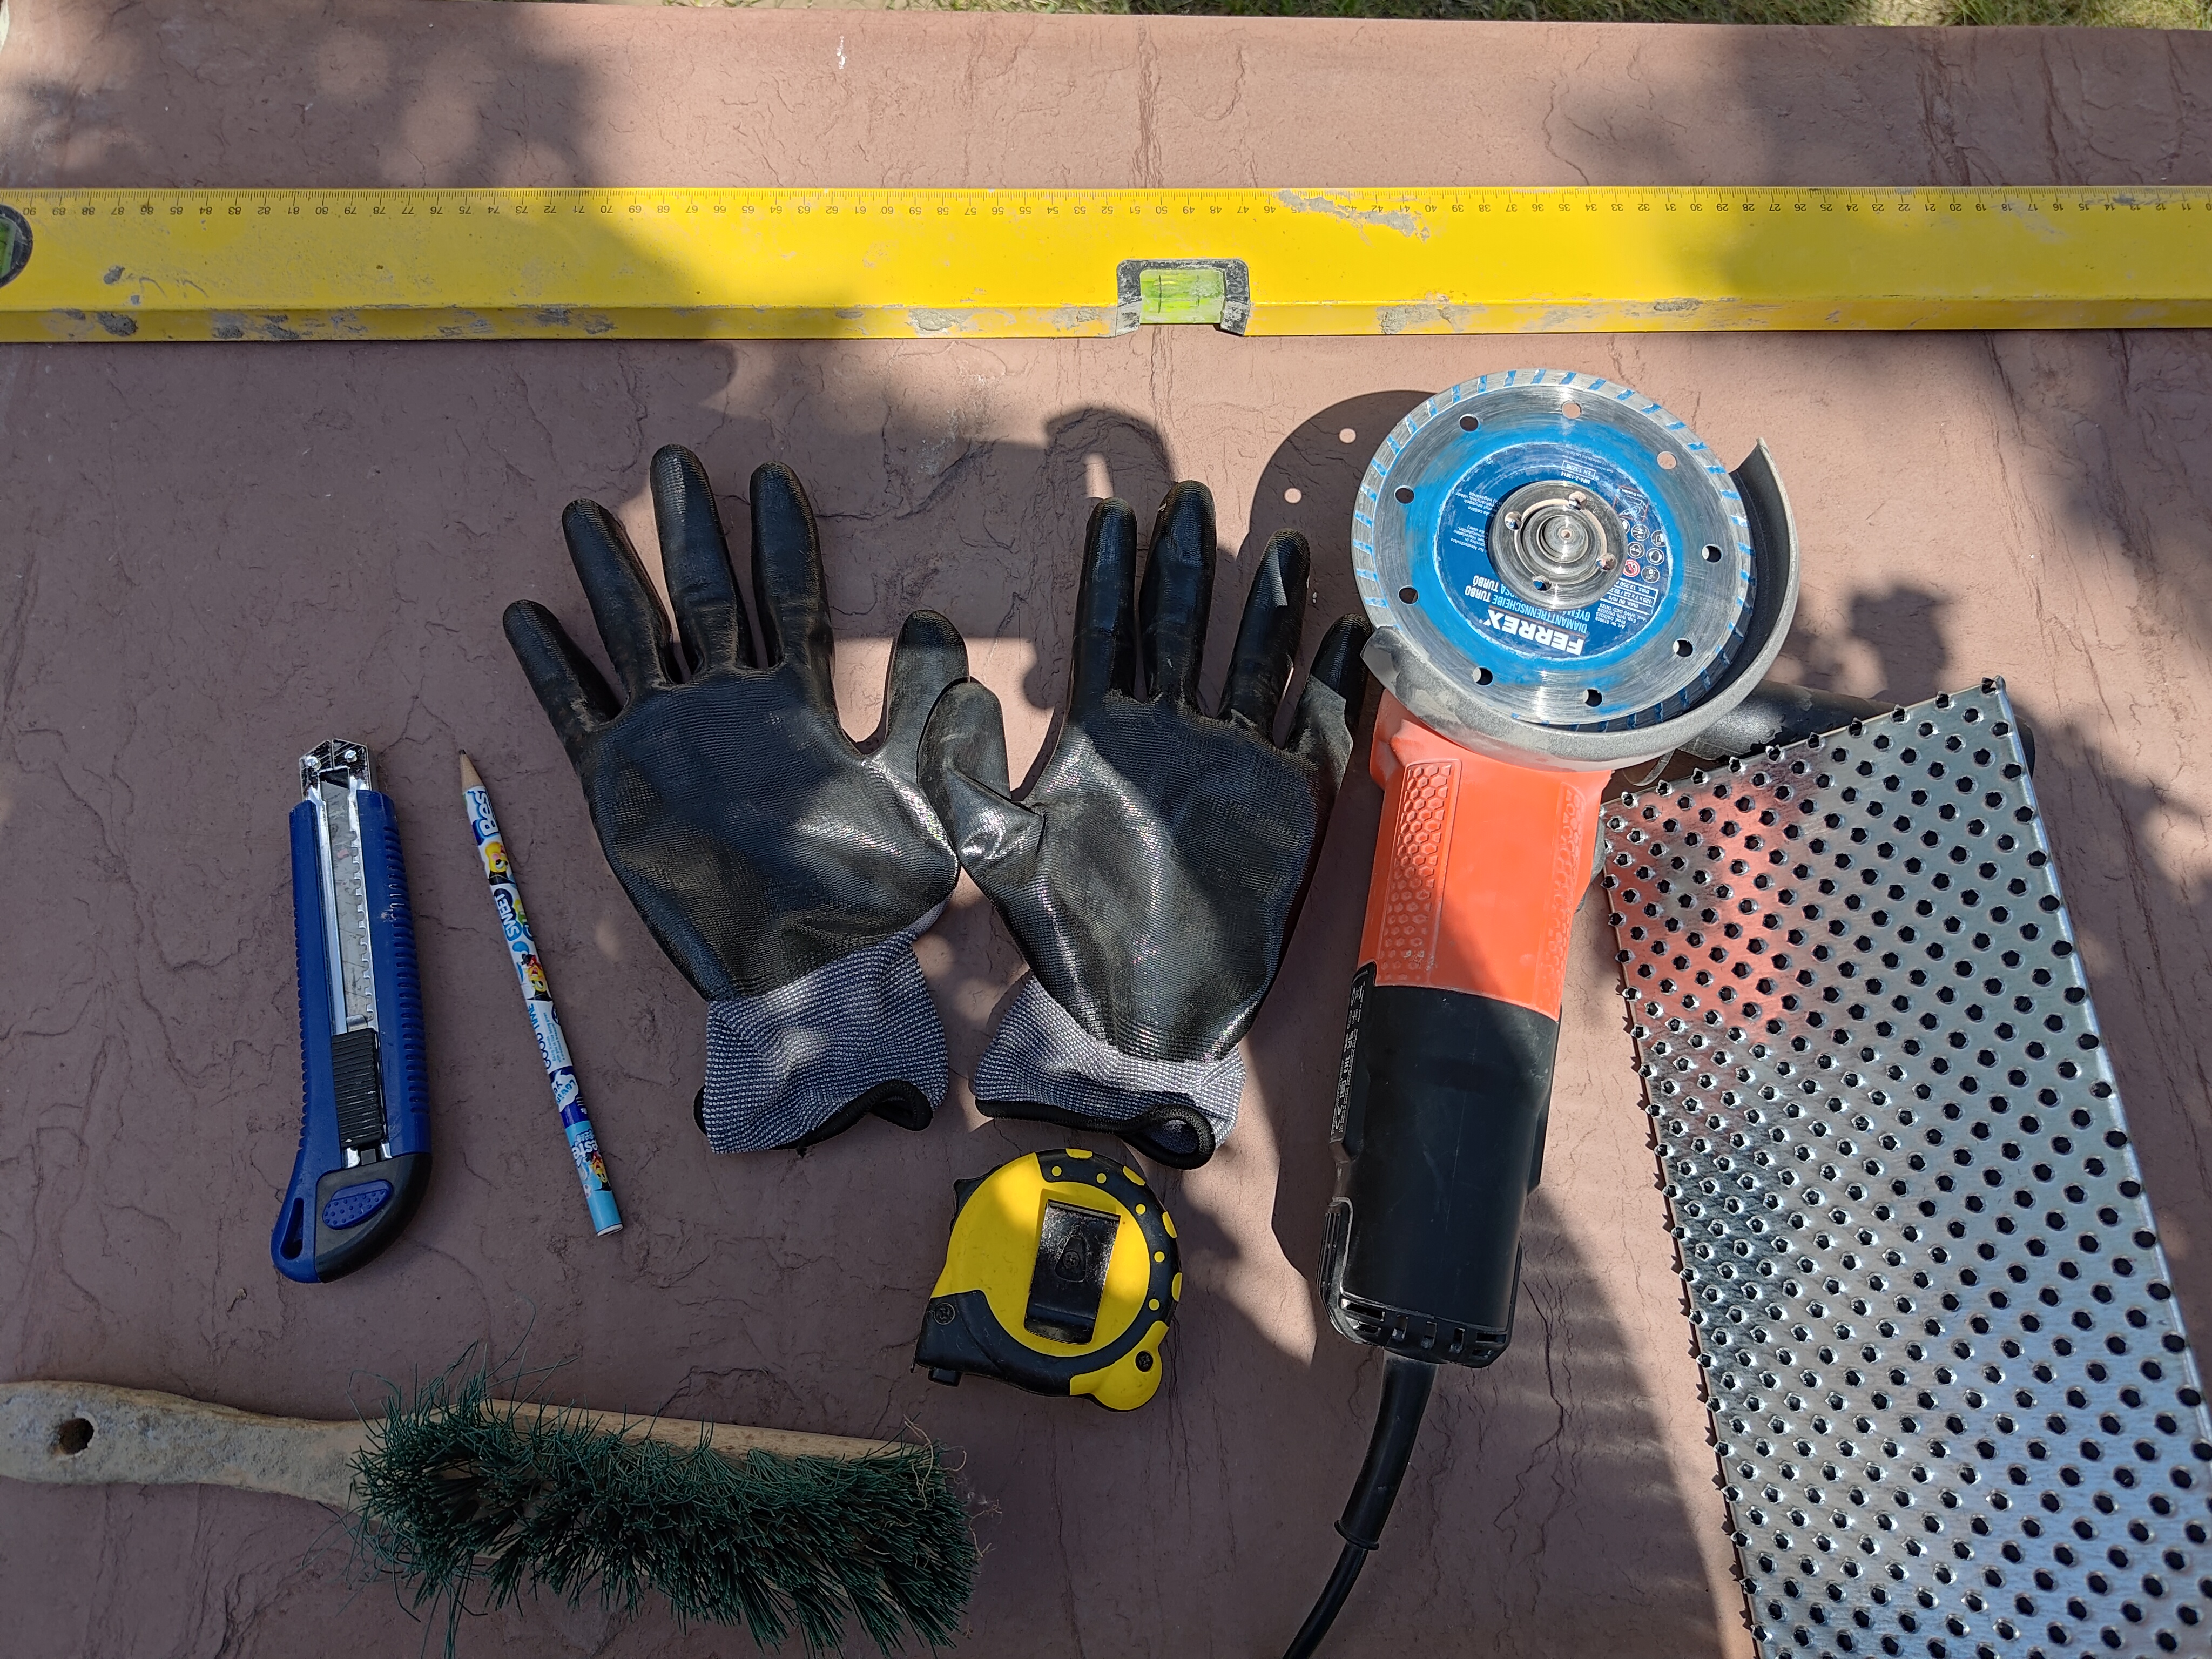
Tool need:
- Corner grinder
- Diamond continuous or turbo disc
- Measuring device
- Watermeter
- Pencil
- Styrofoam grinder
- Knife, saw
- Brush
- Mask, gloves, safety glasses.
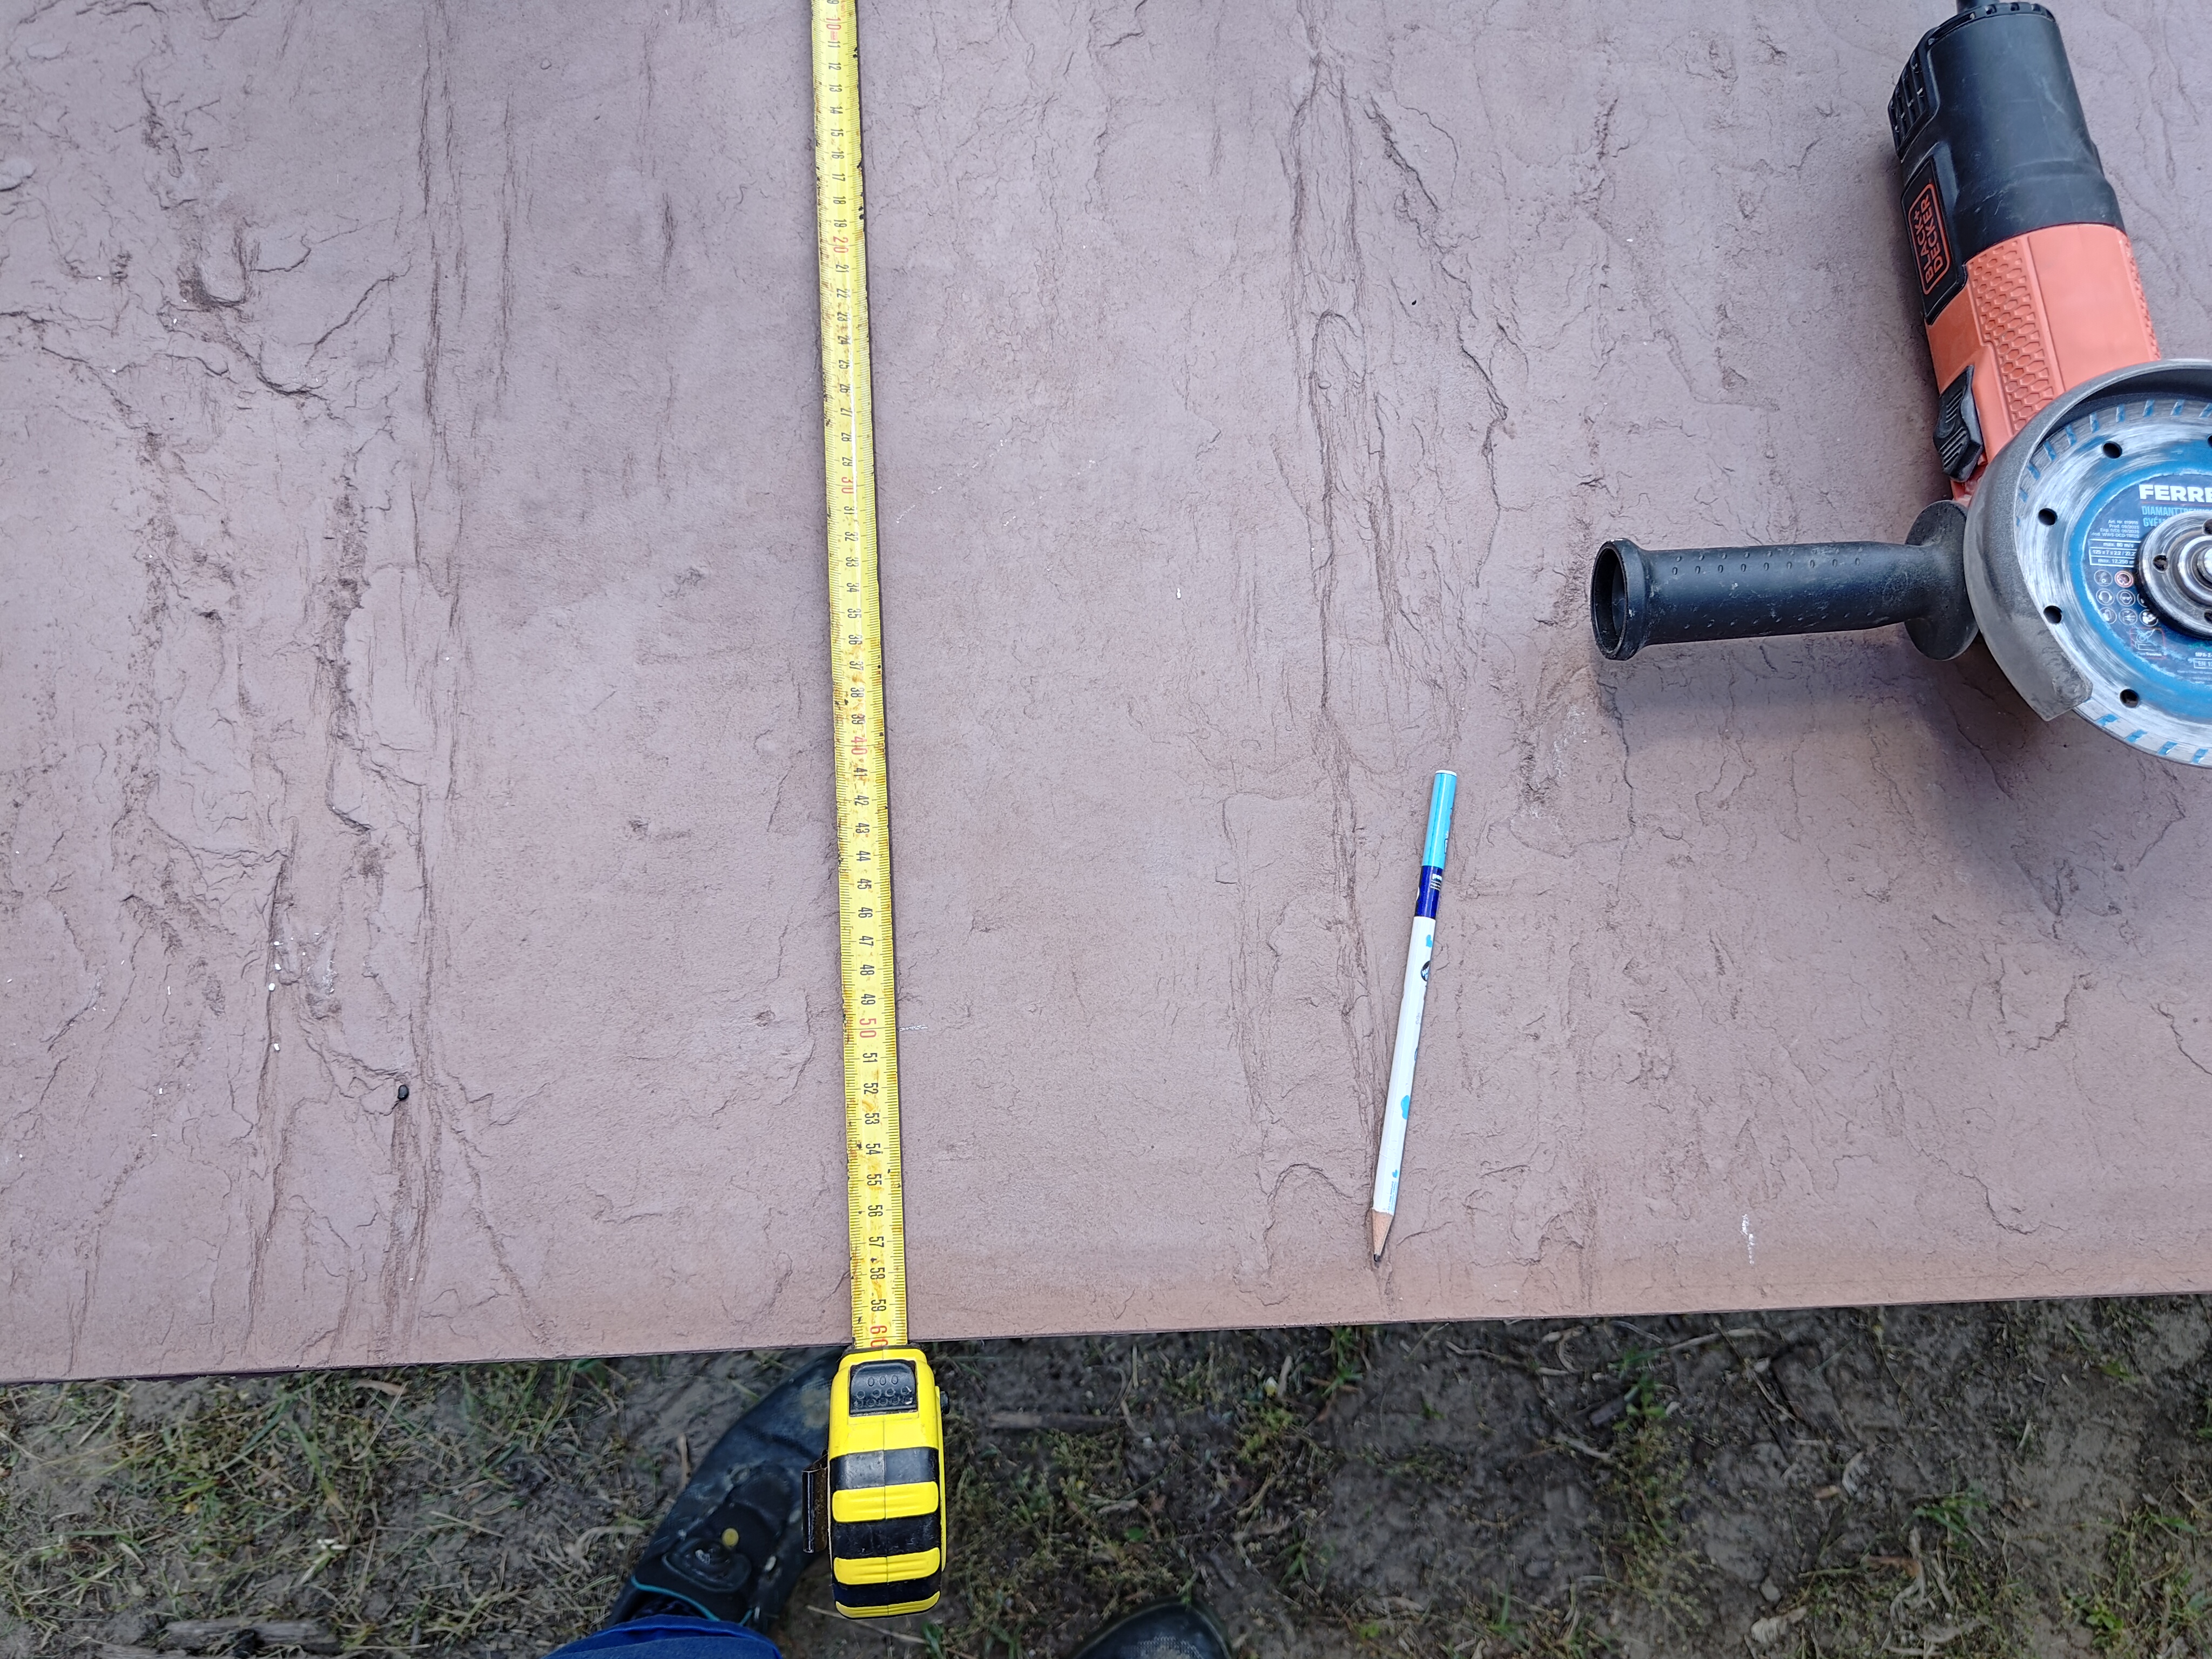
Iso-Concrete is made in 120*60cm size, customization may be necessary:
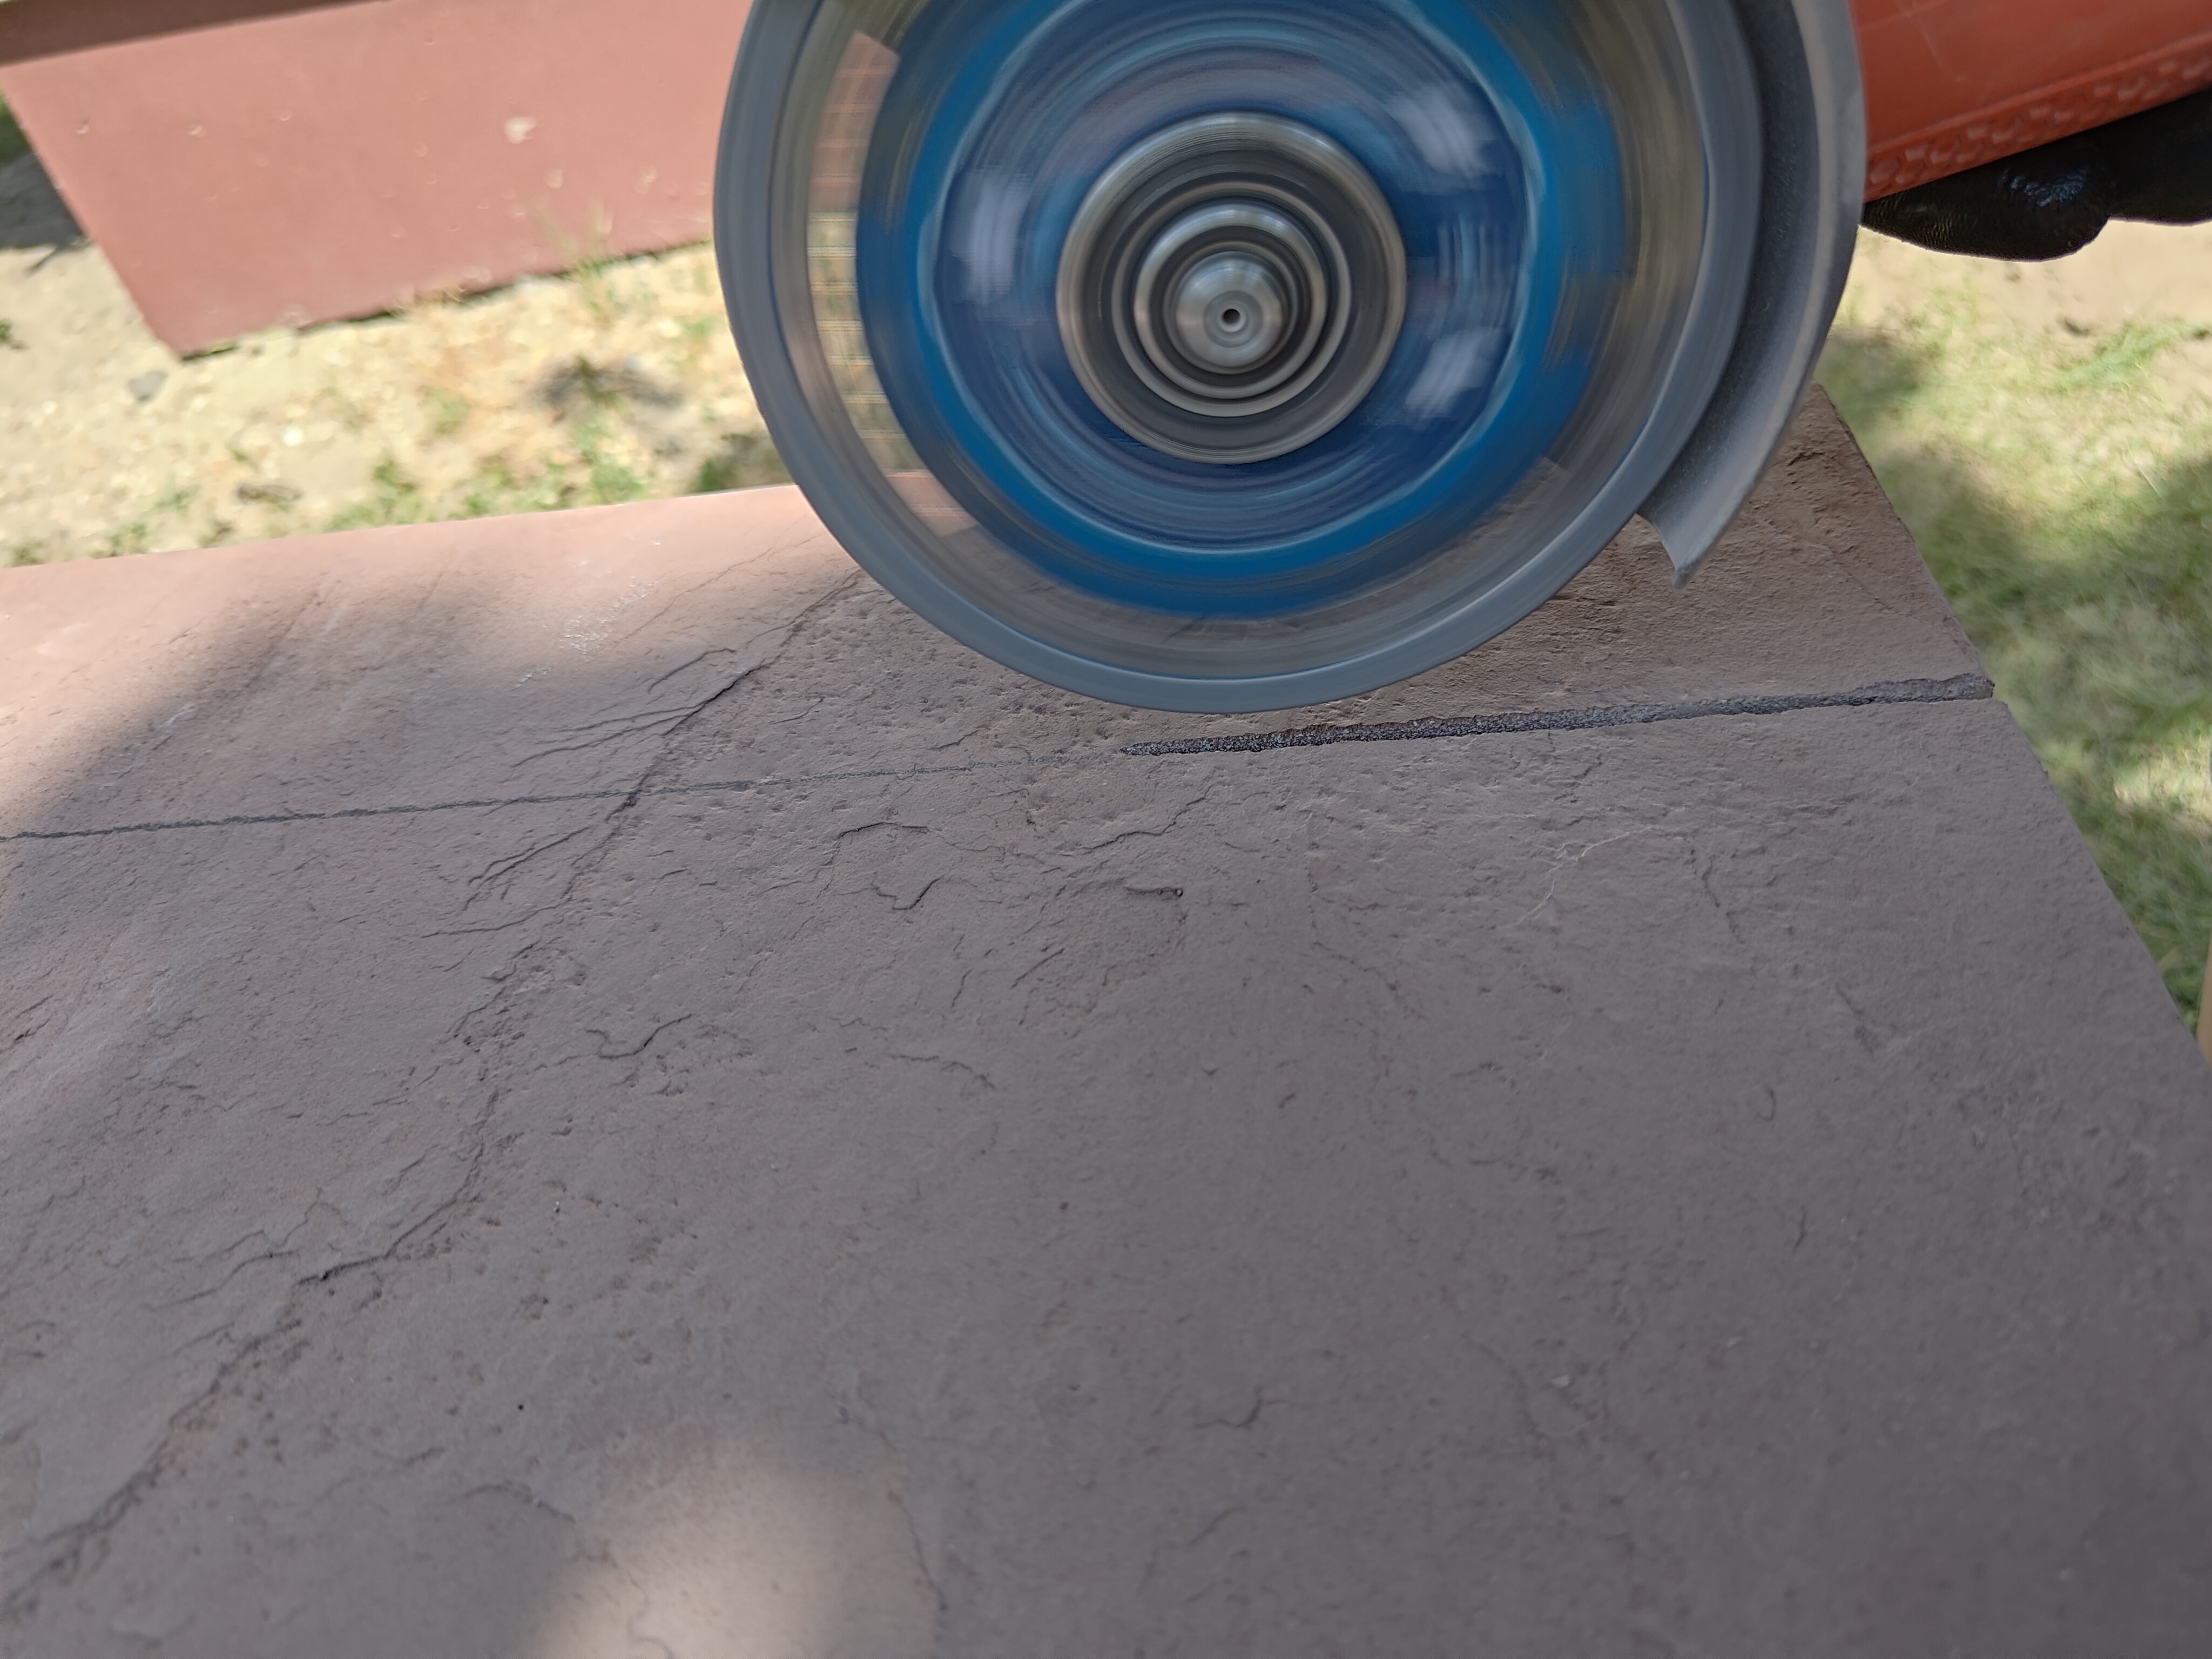
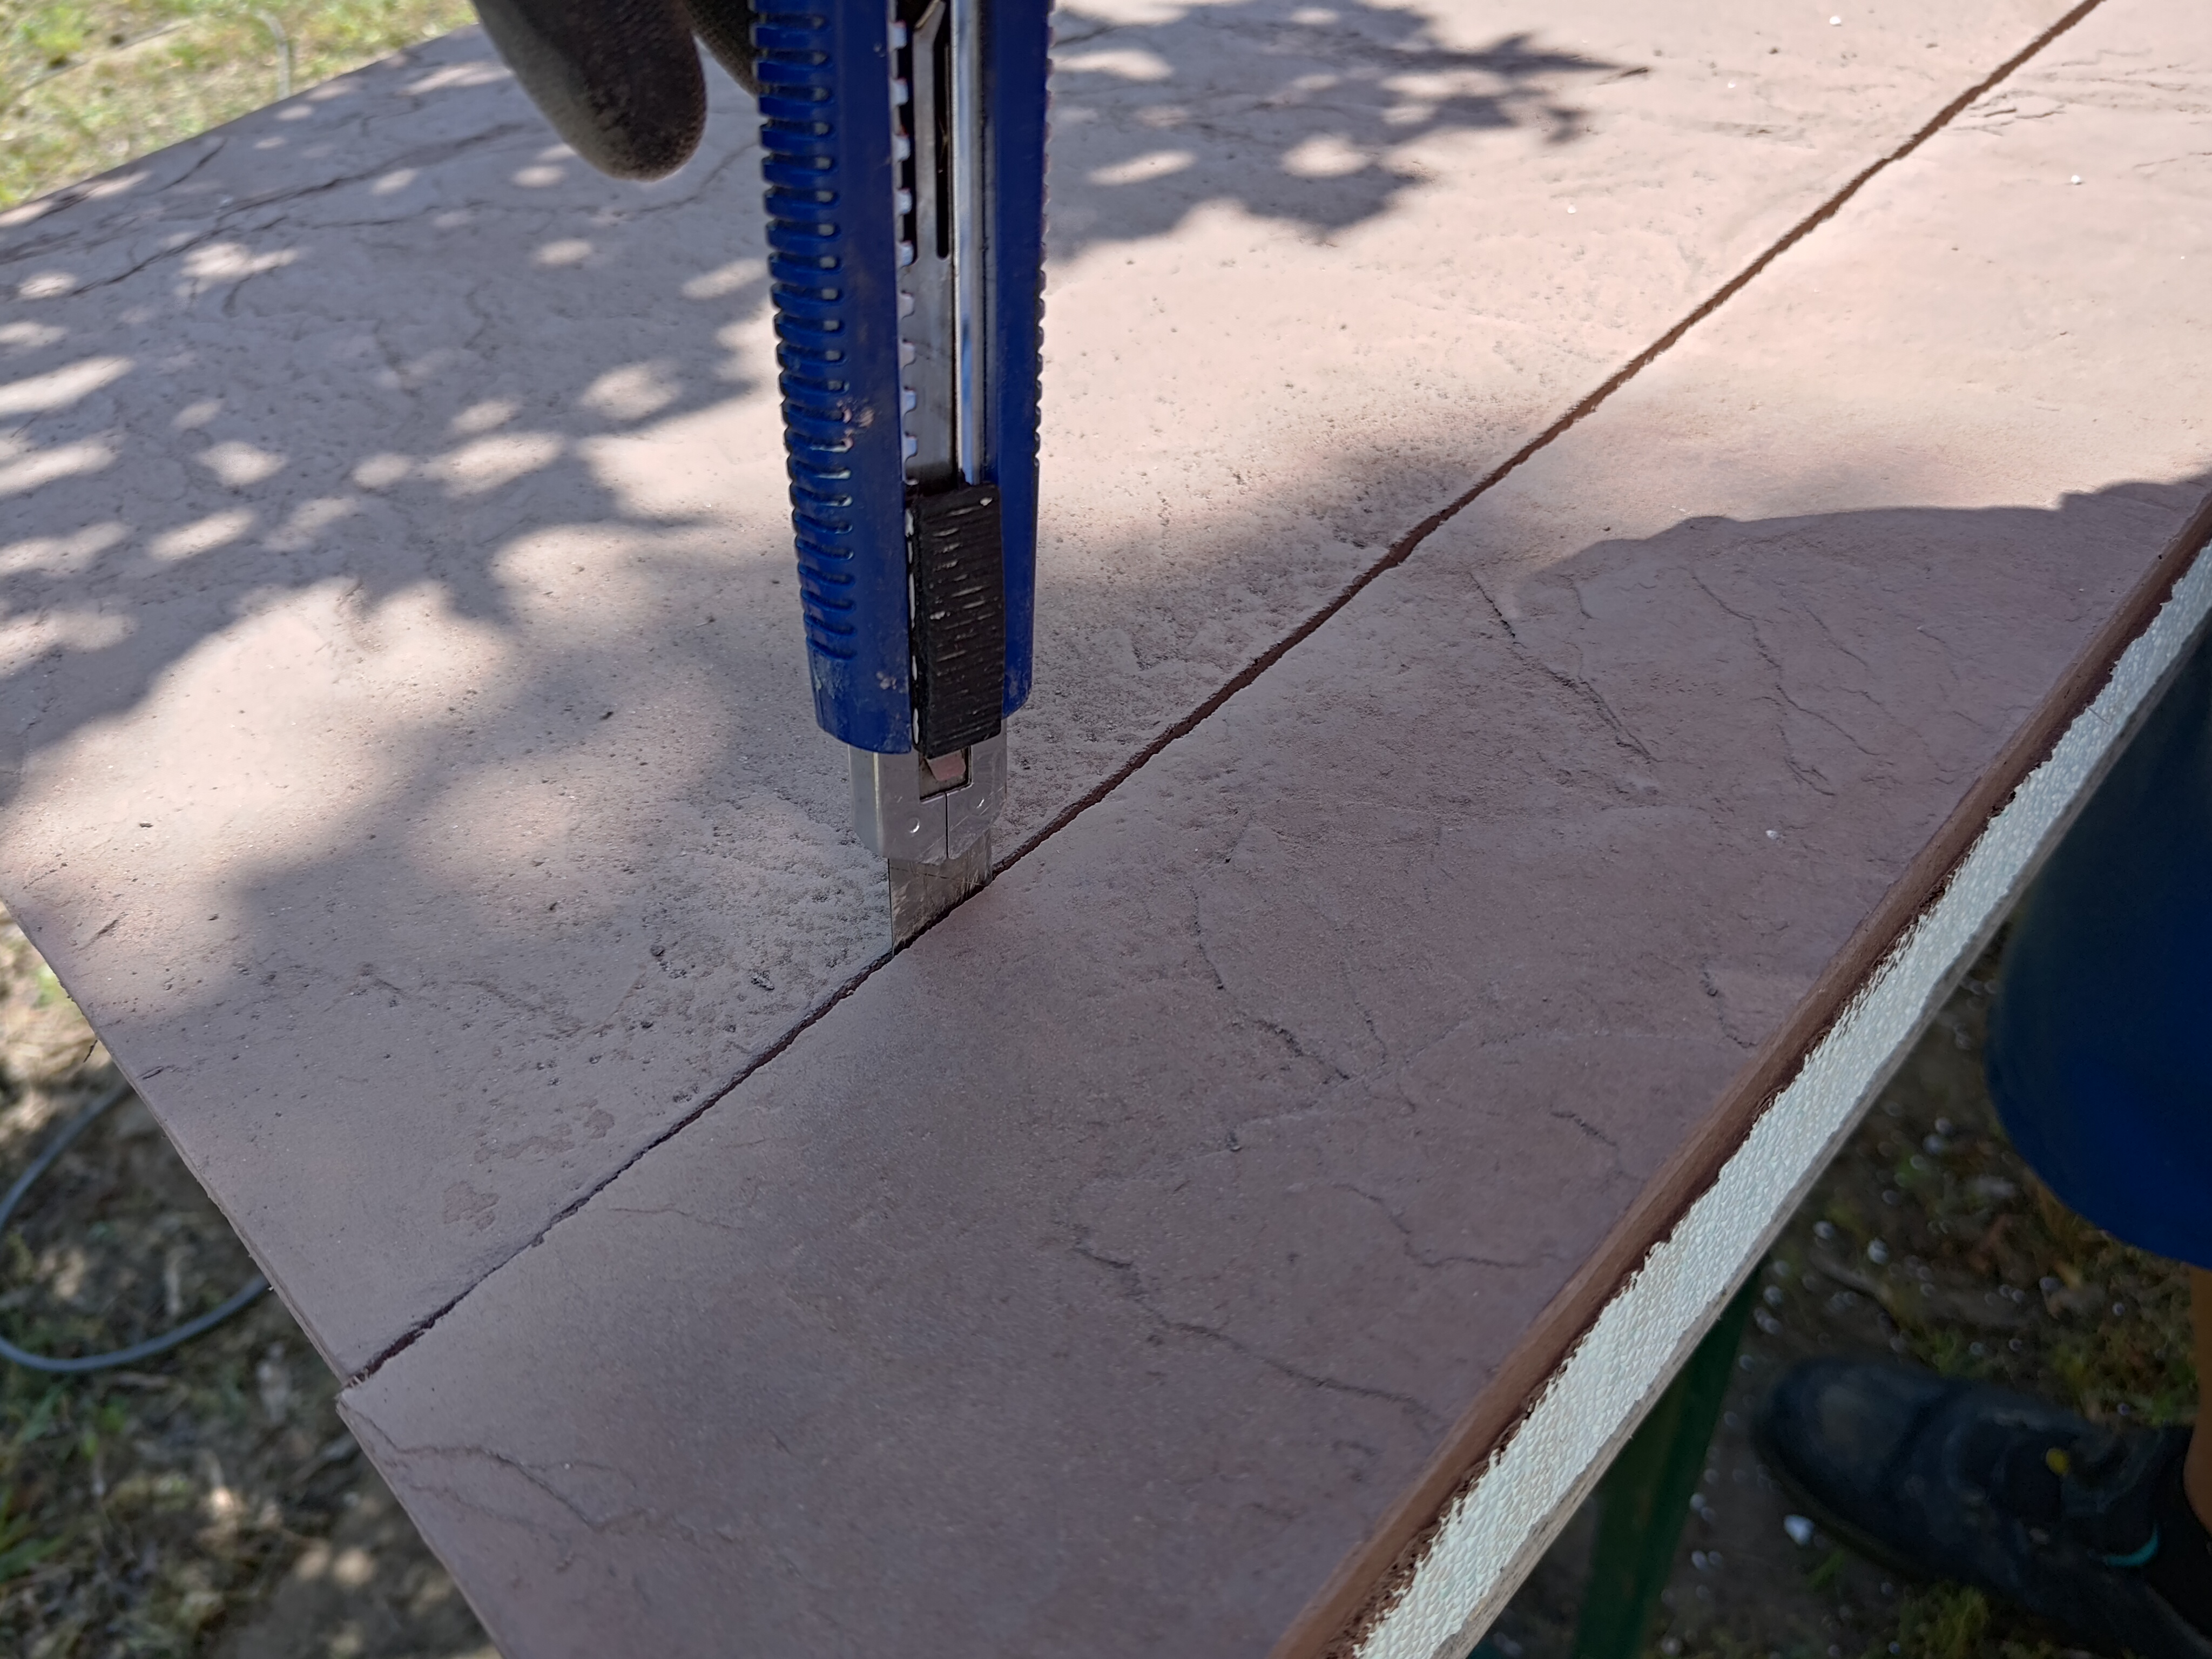
Simply measure out the desired size, draw it with a pencil, then cut the concrete surface with an angle grinder (you can also cut into the insulation), then cut the insulation with a knife.
Corners can be mitred, and uninsulated slabs (tiles) can be purchased if something needs to be covered…
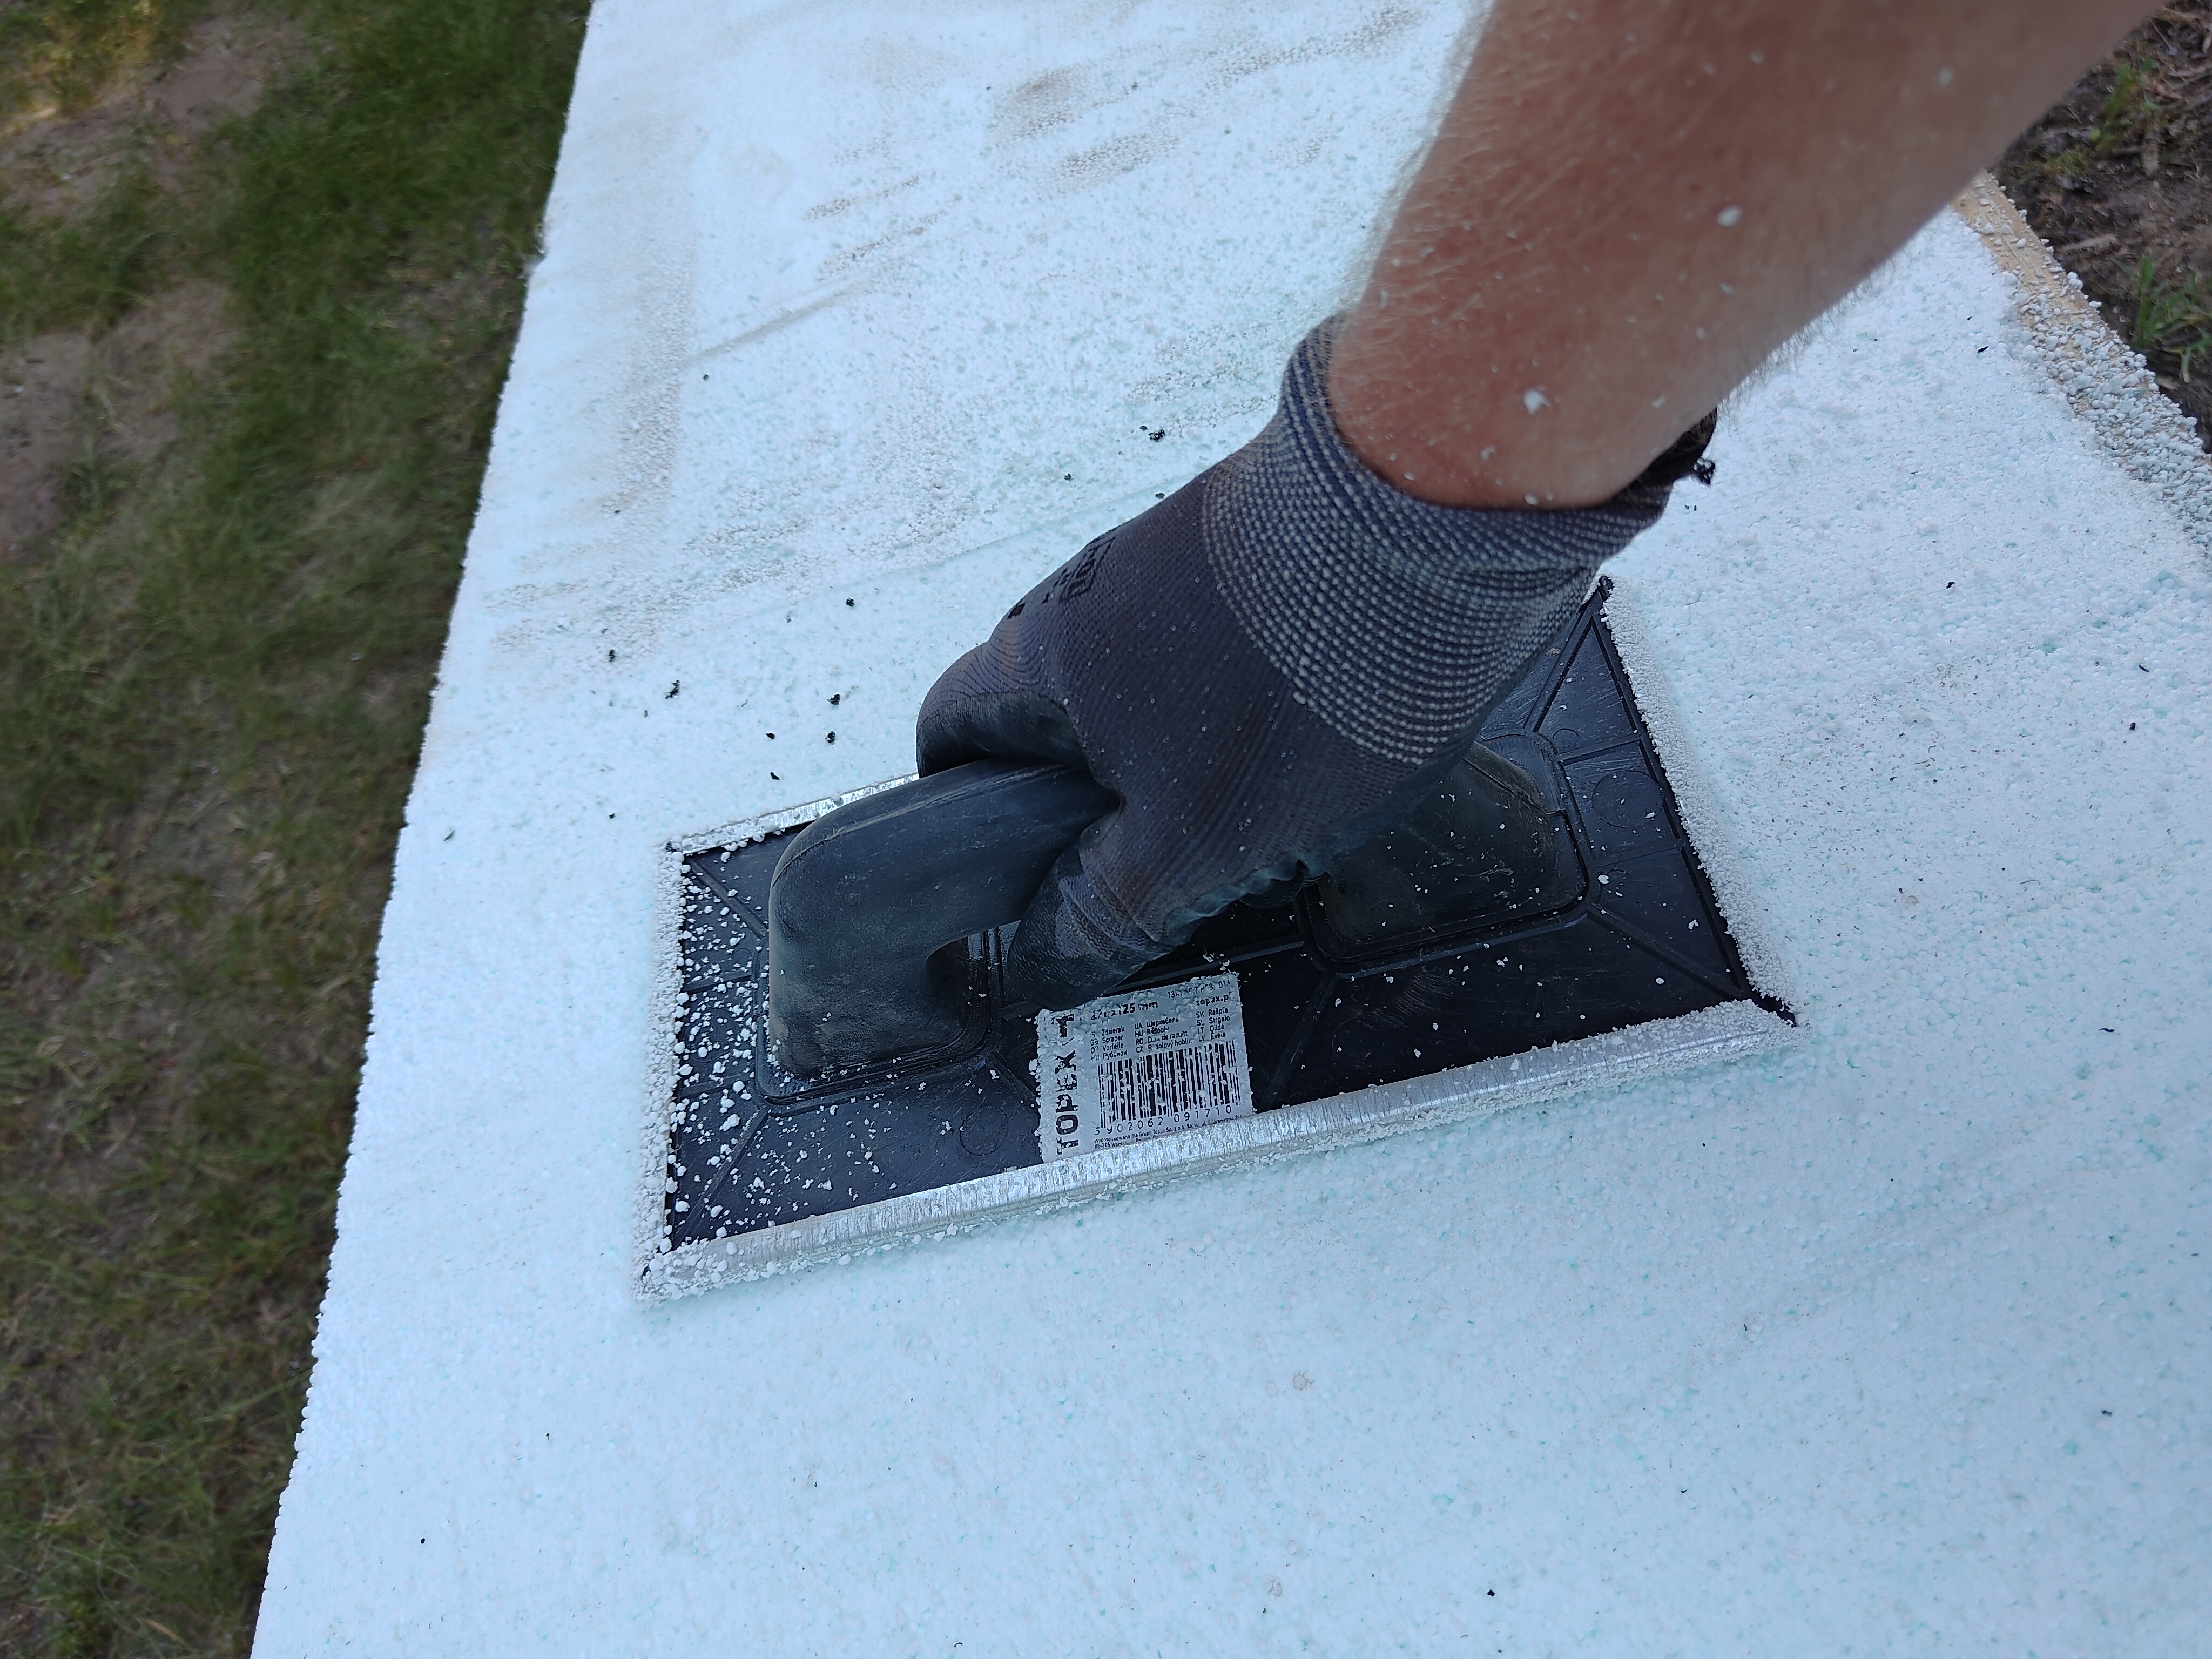
The wall may be uneven and this can be levelled out by sanding down the Iso-Concrete insulation.
You can use a styrofoam sander or a coarse grit belt sander.
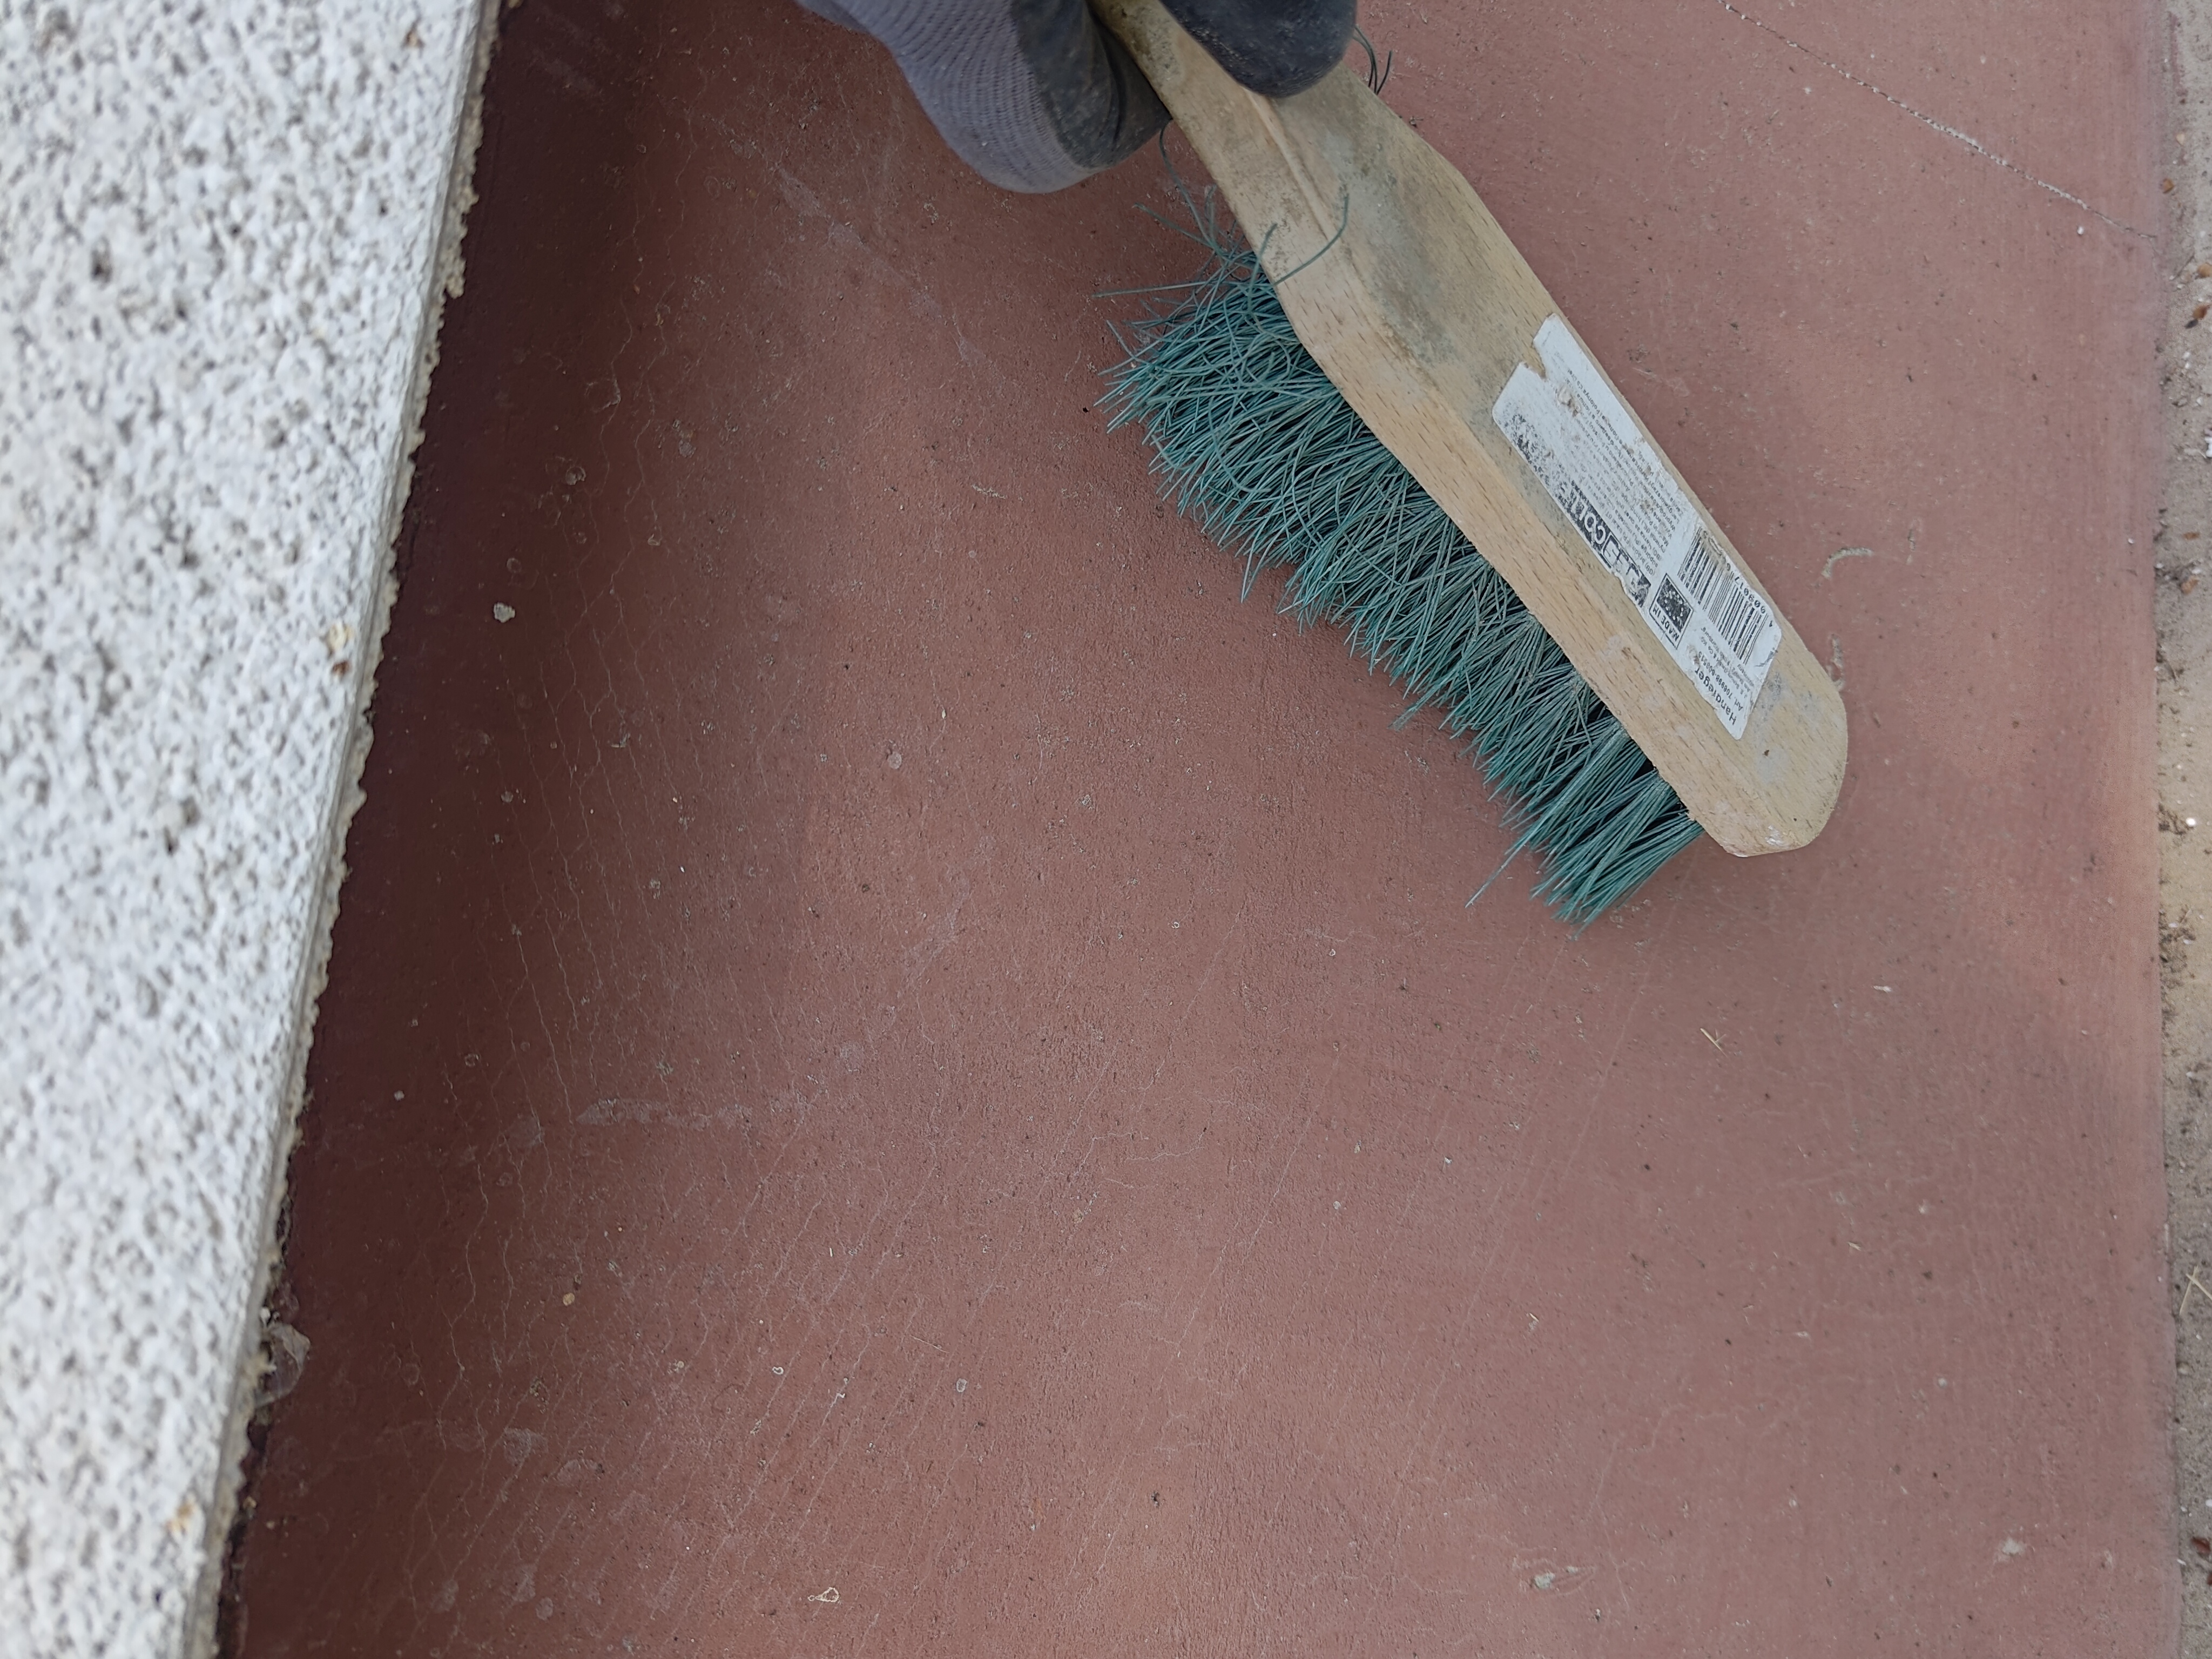
After that, the surfaces can be dusted (insulation, walls):

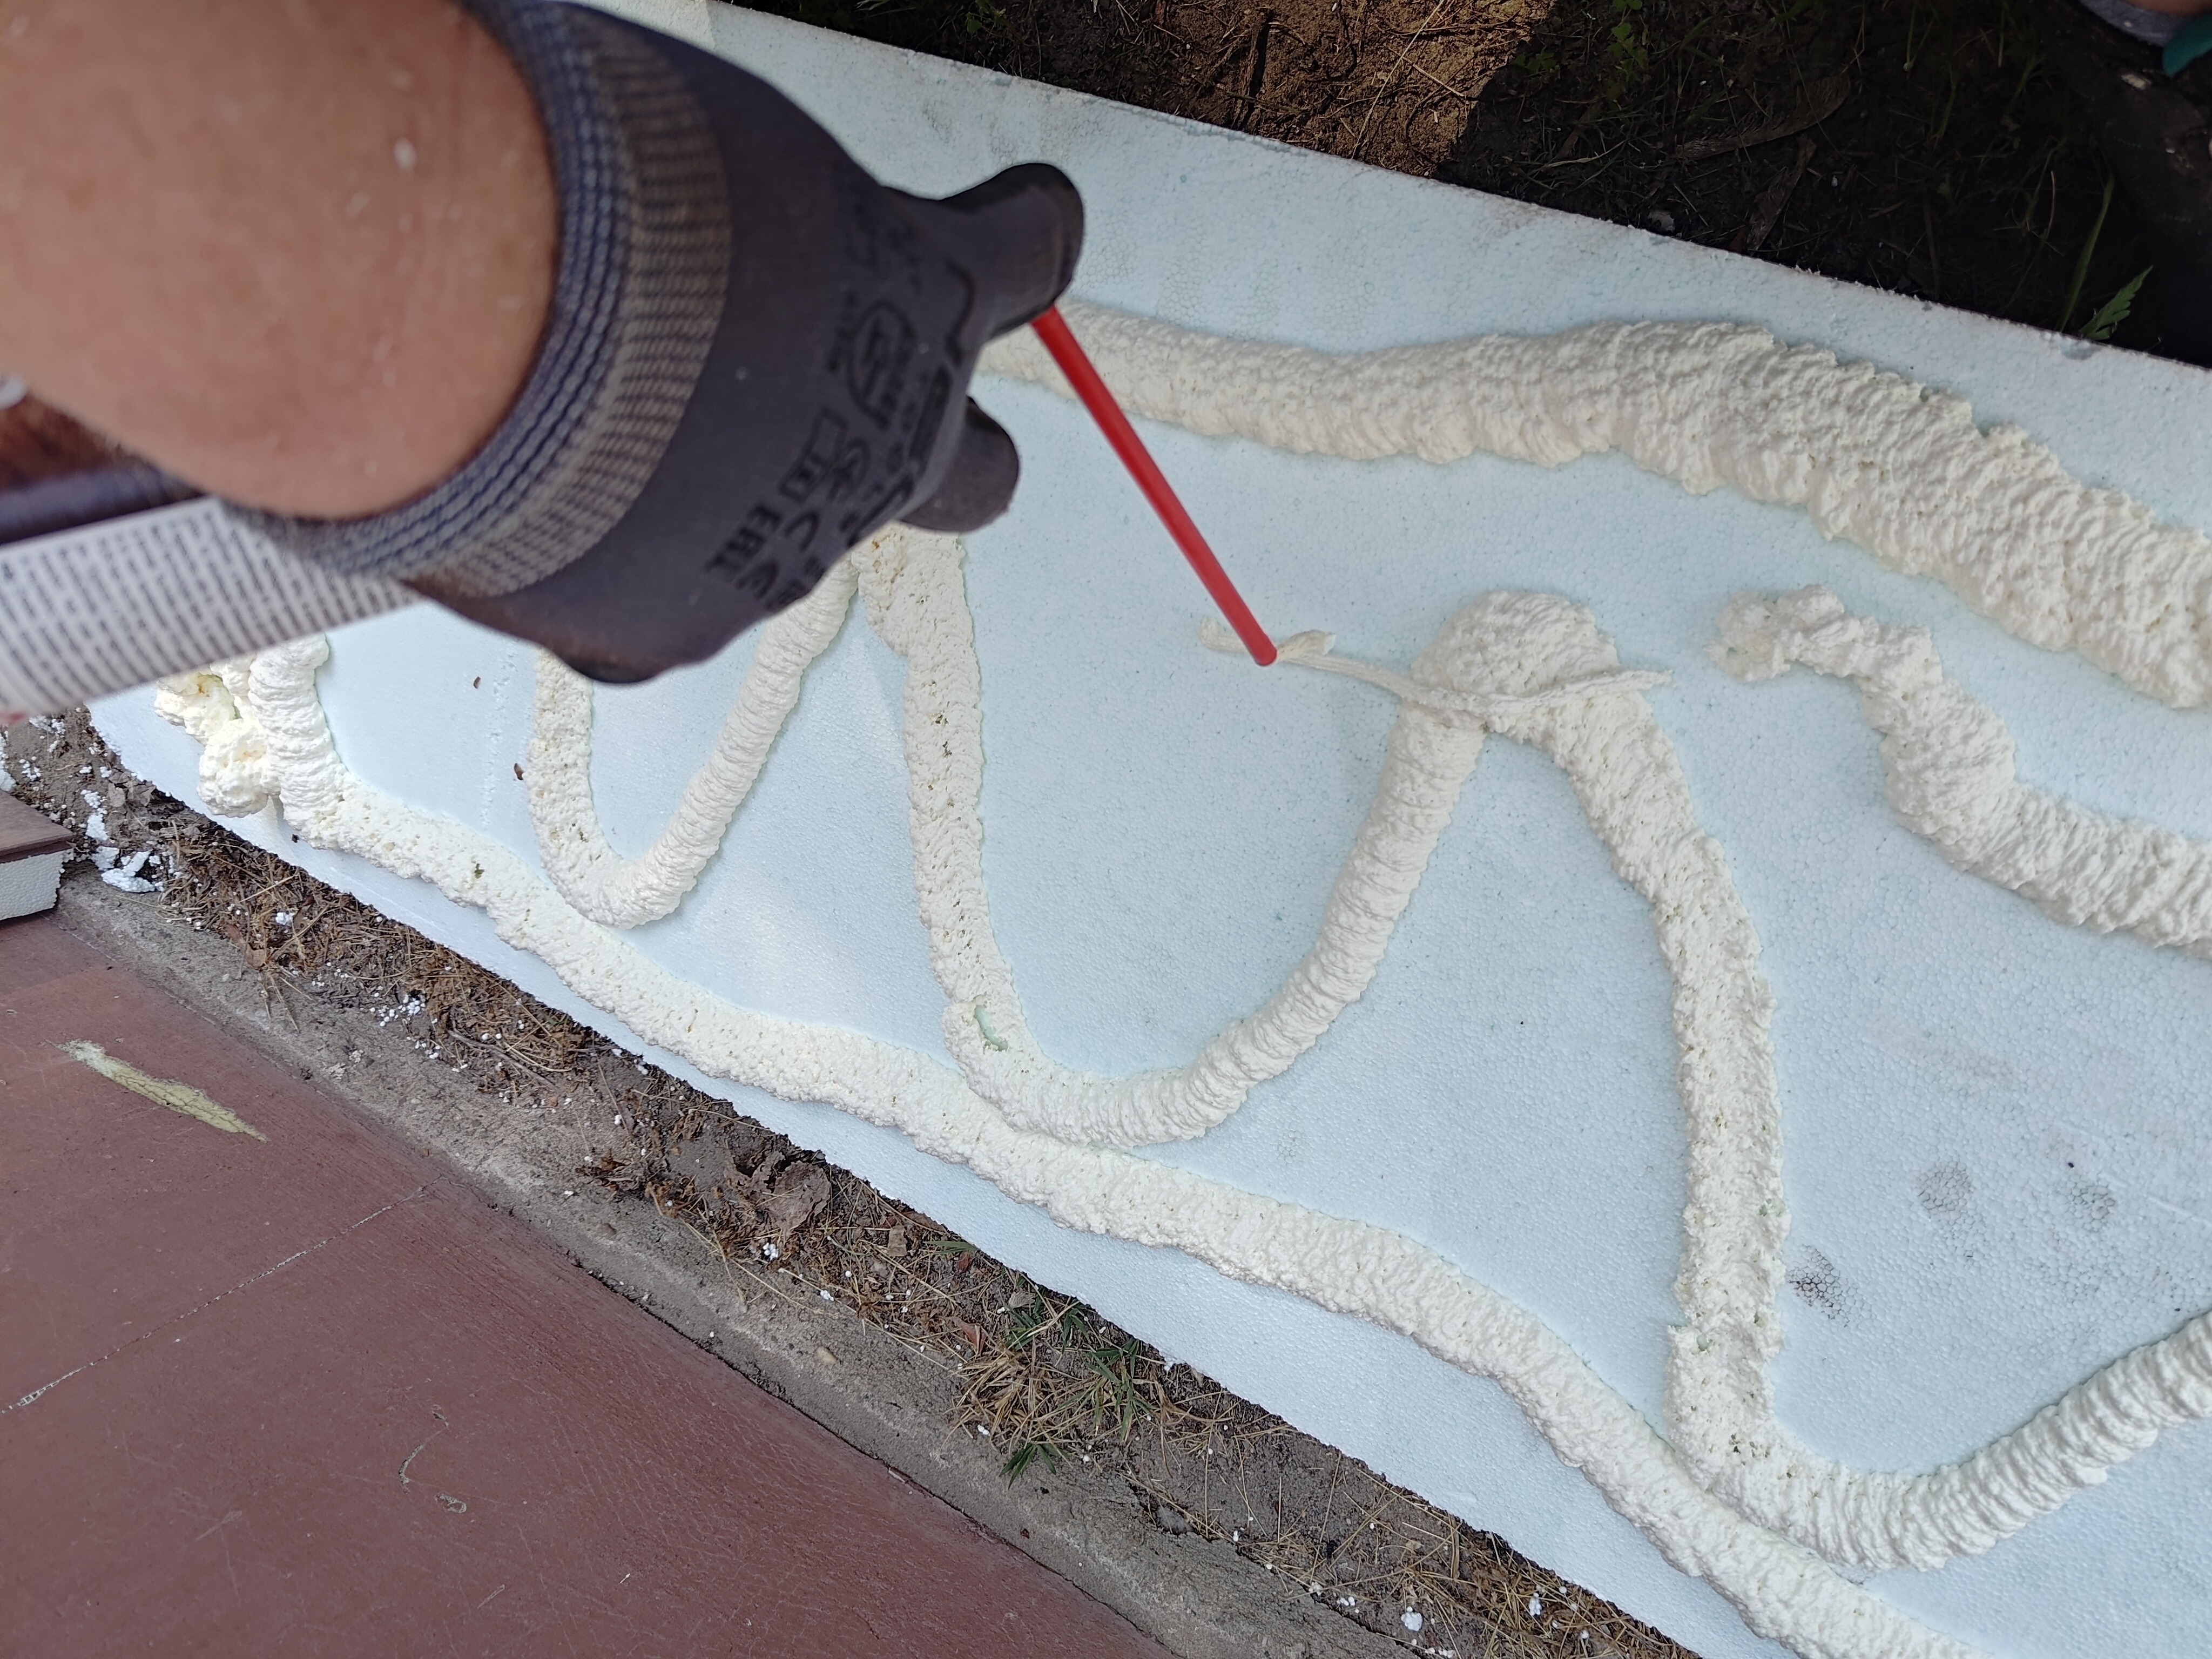
Iso-Concrete is easiest to apply with low-expansion fast-bonding PU foam:
Spray the edges of the insulation, then zig-zag the middle, then to get the two boards to stick together, spray the edge of the board you’ve already put up, then press the boards firmly onto the wall and hold until they stick (they won’t move if you take your hand away).
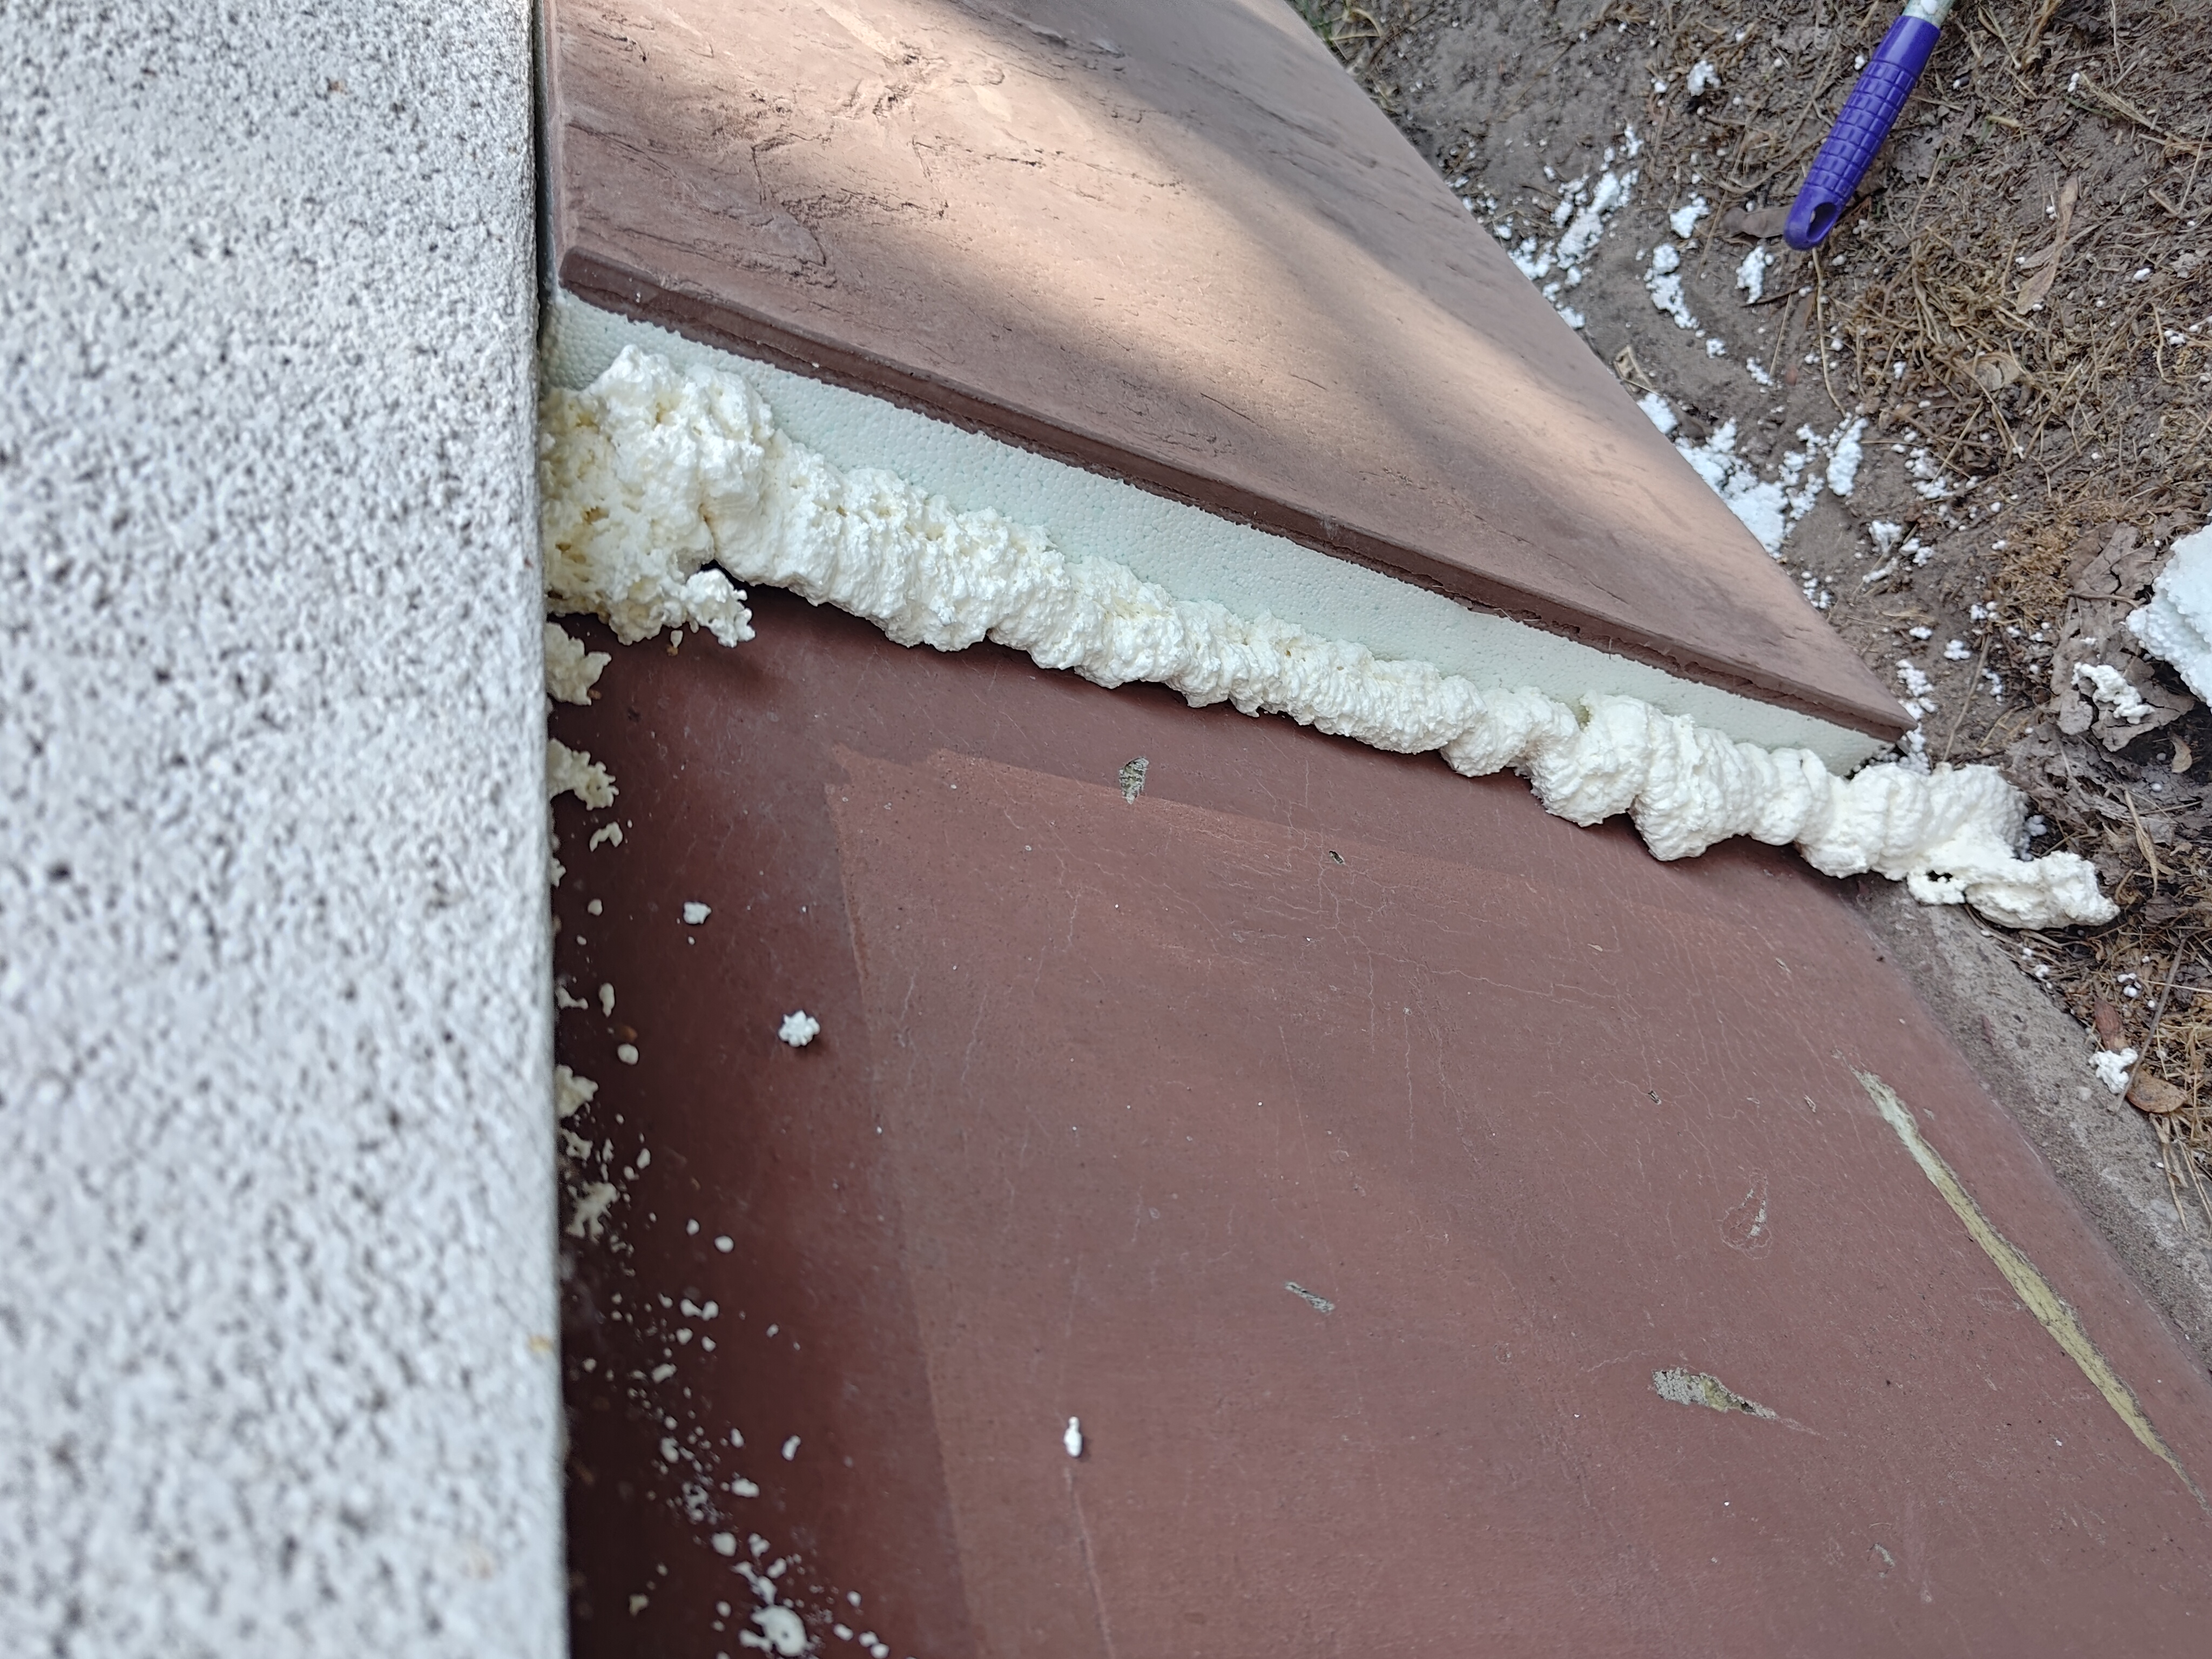
And now it’s ready!!!!